
Rwanda’s Gorilla Trekking Permit Is $1,500—Here’s What Travelers Should Know Before Booking
From porters and trail conditions to the one-hour gorilla encounter, here’s what travelers should know before planning Rwanda’s famous mountain gorilla trek.
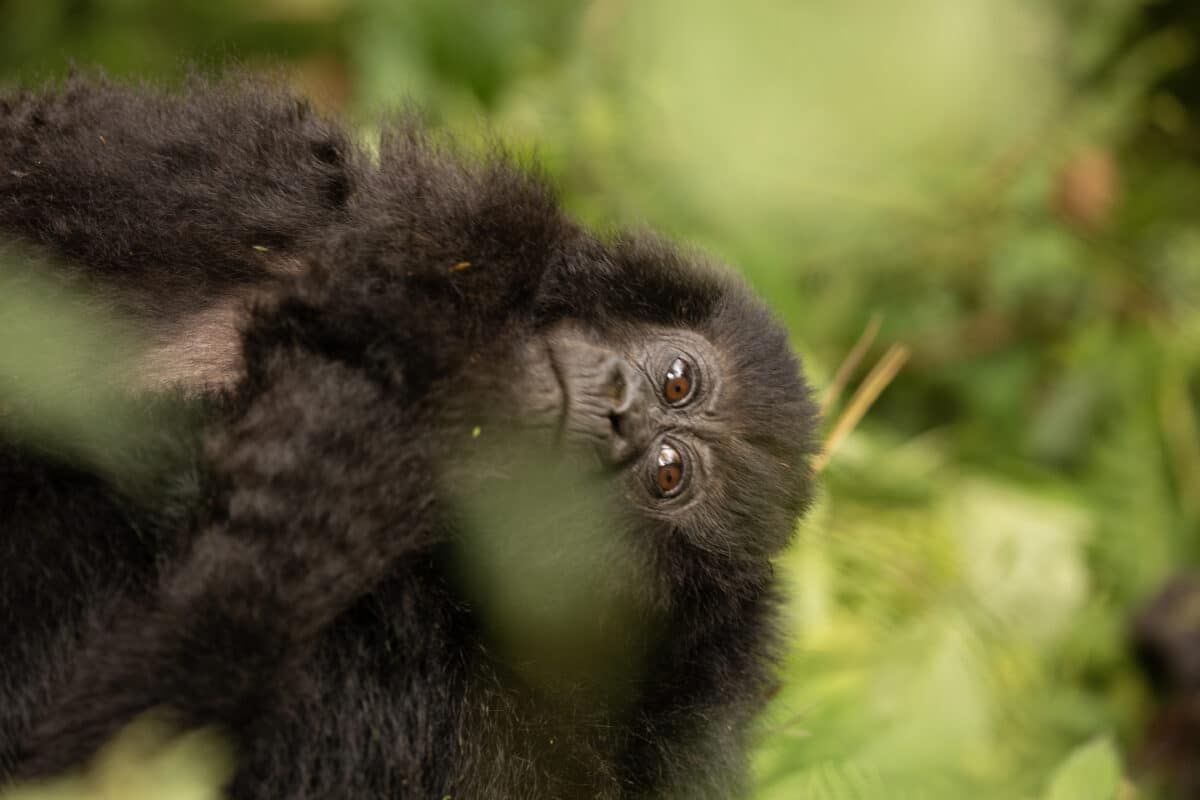
Between the price, the planning, and the hike itself, gorilla trekking in Rwanda can feel a bit overwhelming before you go.
My last article was all about everything I did wrong while gorilla trekking in Rwanda. This one is the guide I wish I had before I booked it.
Today, I’m breaking down how planning a gorilla trek works, why Rwanda is so much pricier than Uganda, what the morning of the trek is actually like, the best time of year to go, how the gorilla encounter works, whether it feels safe, and whether I think the whole experience is actually worth it.
How Planning + Logistics Actually Work
One thing that’s worth knowing upfront is that you can drive yourself in Rwanda.
The roads are actually really good for the most part. But between the traffic, the pedestrians, the farm animals, and some pretty steep drop-offs, it just wasn’t something I personally would have wanted to do.
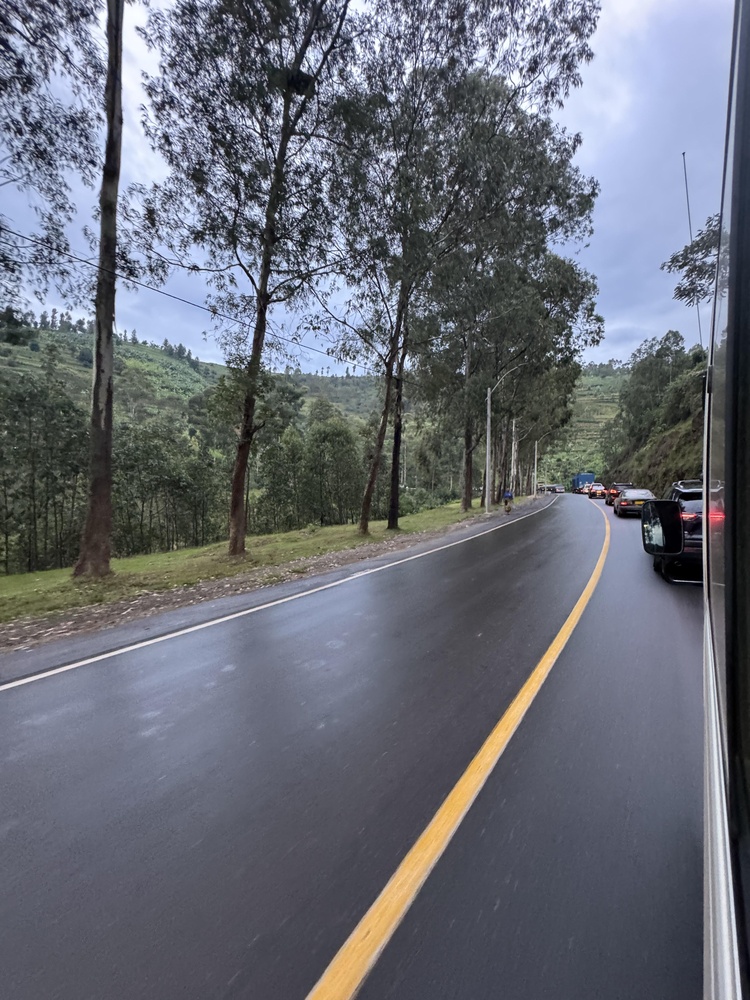
So for this kind of trip, a lot of people hire a driver.
I booked mine through Go2Africa, which I also used for Kenya, and they made this really easy. My driver, Benjamin, took me to the park that morning, waited while I did the trek, and then drove me back afterward.
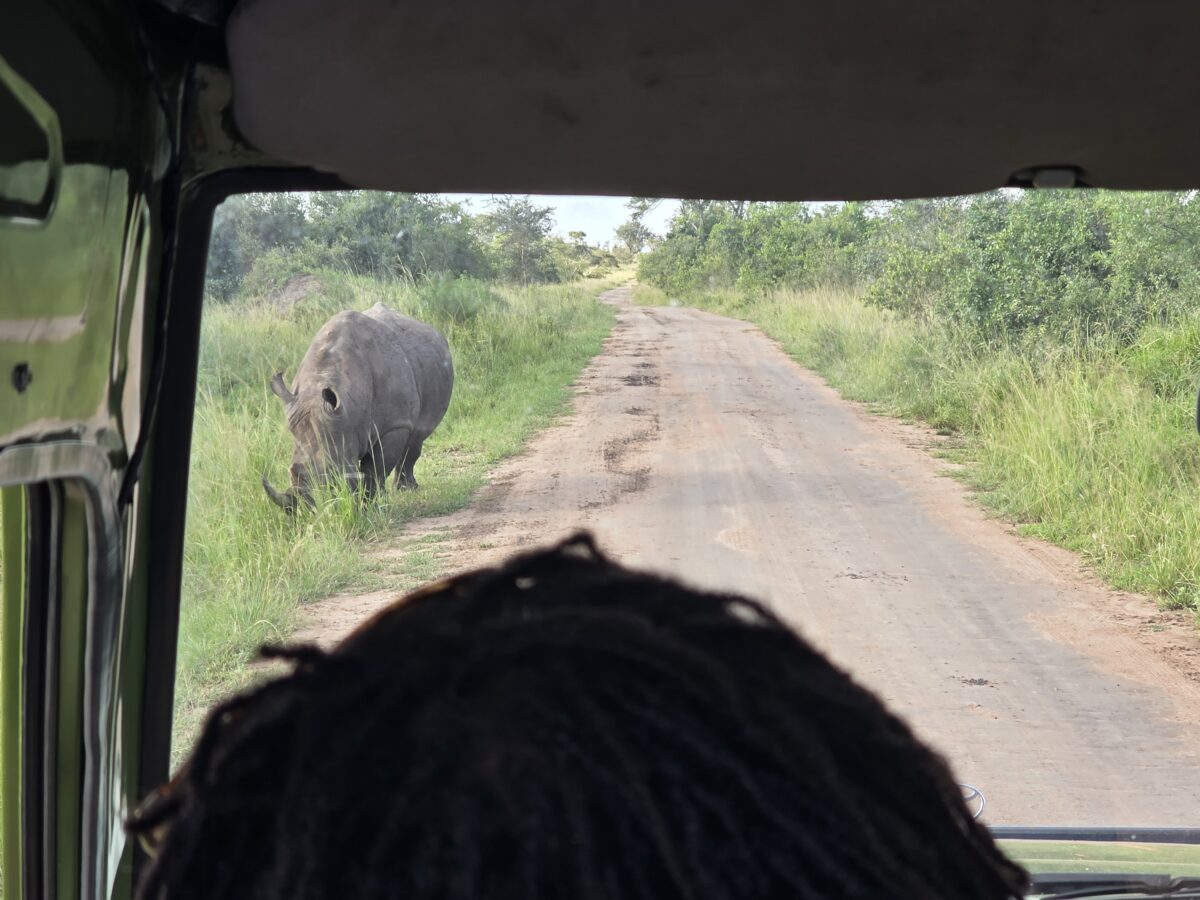
And in my case, I actually had the same driver for my entire trip—from Kigali to chimp trekking, to the gorillas, to safari, and then back again. So I wasn’t trying to figure out transportation on a day-by-day basis. It was all coordinated ahead of time, which made things a lot less stressful.
But once you get to the park, the actual trek itself is led by guides and rangers from Volcanoes National Park.
Cost + Rwanda vs Uganda
So let’s talk about the cost, because this is probably the biggest thing people pause at.
A gorilla trekking permit in Rwanda is currently $1,500 per person. And yes… that’s just the permit.
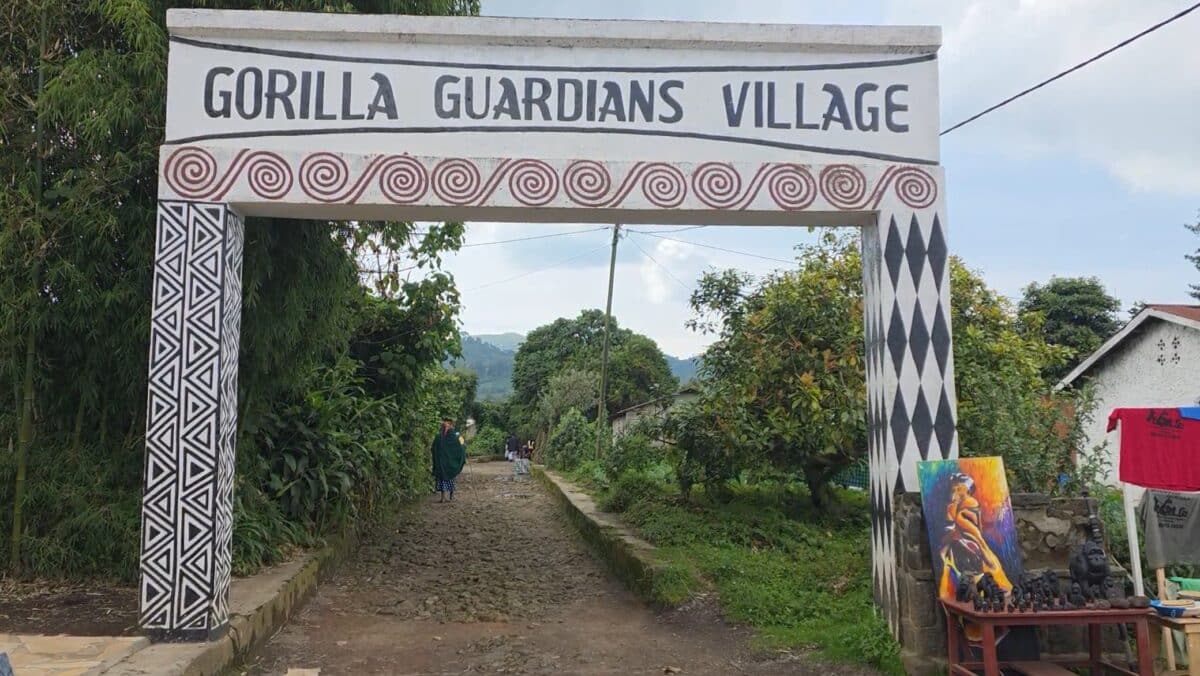
Part of that fee does go toward conservation and supporting local communities around the park, so there is a bigger purpose behind it—but it’s still a big number when you’re planning a trip.
And this is where a lot of people start comparing Rwanda to Uganda.
In Uganda, permits are closer to $800, so it’s a pretty significant difference.
From what I experienced, Rwanda tends to be a bit more streamlined and easier logistically. The park is closer to the capital, the infrastructure feels more developed, and overall it leans a bit more toward a higher-end, luxury experience.
Uganda is more budget-friendly and still an incredible experience, but it can be a bit more rugged and require more travel time to reach the trekking areas.
So it really comes down to your budget, your time, and what kind of trip you’re looking for.
One other thing to factor in beyond the permit is the smaller costs on the day of your trek. When I went to Rwanda, porters were $20 per person, plus tip. And I highly recommend hiring one.
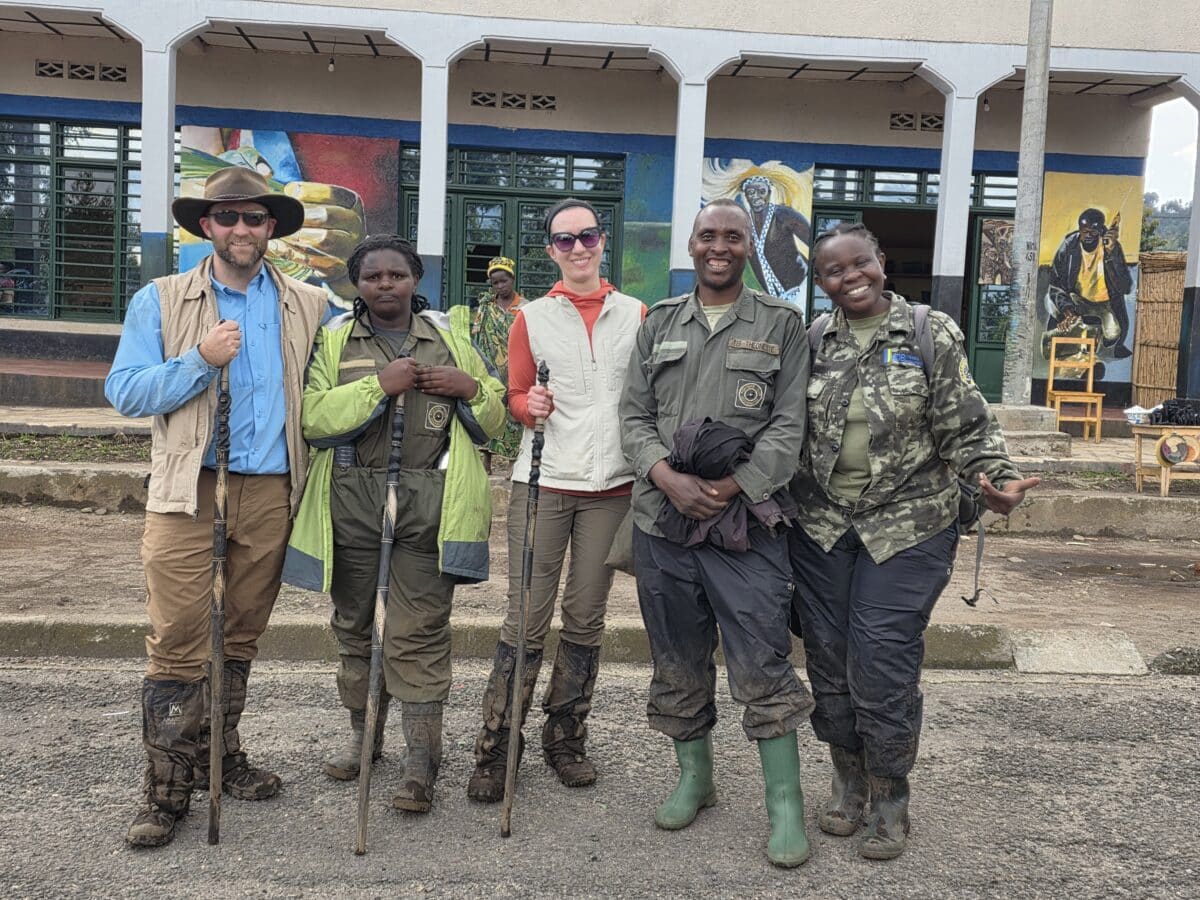
Guides are paid and tipped separately, too, and we were told around $30 was standard there. So I’d bring at least $50 in cash just for that, plus a little extra, and then double-check what’s current before your trek.
And it’s worth having that in cash, because once you’re outside of Kigali, ATMs and card payments can be limited.
Also, permits can sell out, especially during the busier seasons, so this is something you want to book in advance, not at the last minute.
When to Go
I went in February, which falls within the shorter dry season—roughly December through February.
Even then, it was still muddy, and we actually had quite a bit of rain on my trip. So “dry season” doesn’t mean dry in the way you might expect.
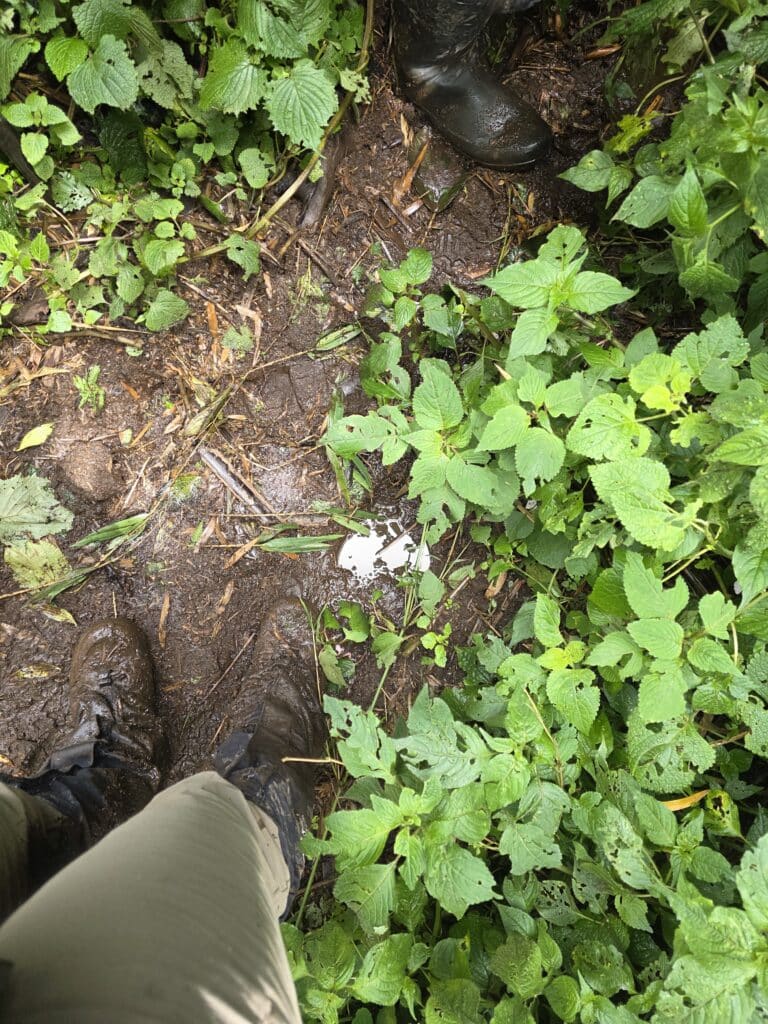
Rwanda also has a longer dry season from about June through September, which is generally considered the best time for trekking. The trails tend to be a bit easier, but it’s also more popular, so permits can book up faster.
And then the rainy seasons are roughly March through May and again in October and November. During those times, the trails can be a lot more slippery, more overgrown, and just more physically challenging overall.
But on the flip side, everything is really green, and sometimes the gorillas stay closer to the base of the mountain, which can mean a shorter hike.
The Morning of the Trek
So the day of the trek starts early—usually around 7 am.
Your driver will take you to the park headquarters, where you check in and go through a safety briefing. They’ll go over how to behave around the gorillas, what to expect… and there’s coffee, which is very appreciated.
This is also where you’re assigned your group and your gorilla family.
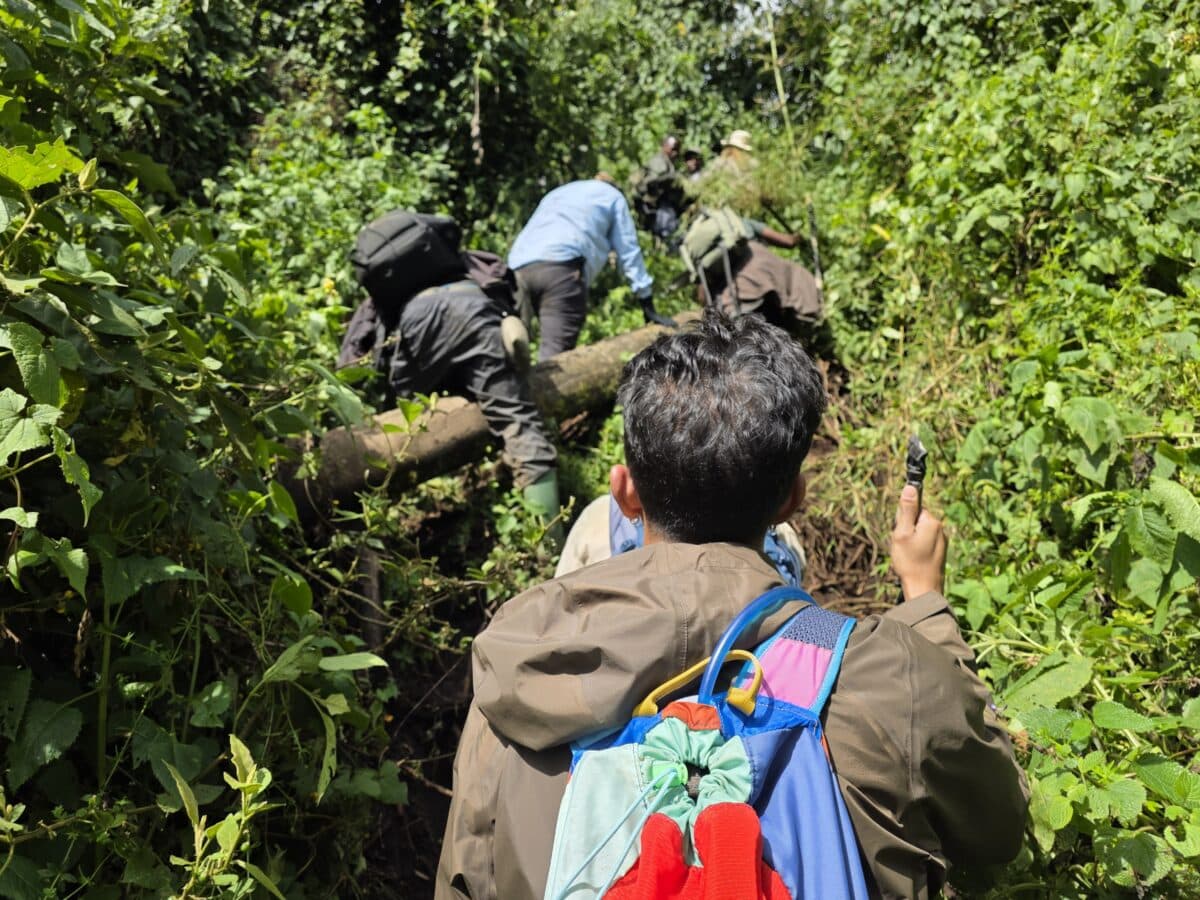
Each group has no more than 8 visitors, plus your guide and trackers, and you can hire a porter if you want extra help, which I would definitely recommend.
Once groups are assigned, you’ll drive to your starting point, and from there you usually walk through farmland for a few minutes before actually entering the park and starting the hike.
How the Hike Works + Difficulty Levels
One thing I found really reassuring is that actually finding the gorillas is considered very, very likely.
Every travel expert I spoke with said they had never heard of anyone not seeing them. You may have to hike longer than expected to reach them, but you will find the gorillas.
That’s also why most people only do one trek. You really don’t need to book two unless you have the extra budget and just want to do the experience again.
When you book, you may have options for different difficulty levels—like easy, medium, or hard—but these aren’t guaranteed.
I booked what was supposed to be an easy trek, and mine ended up being very difficult because the gorilla family was on the move that day. I mean, we hiked for over 7 hours that day!
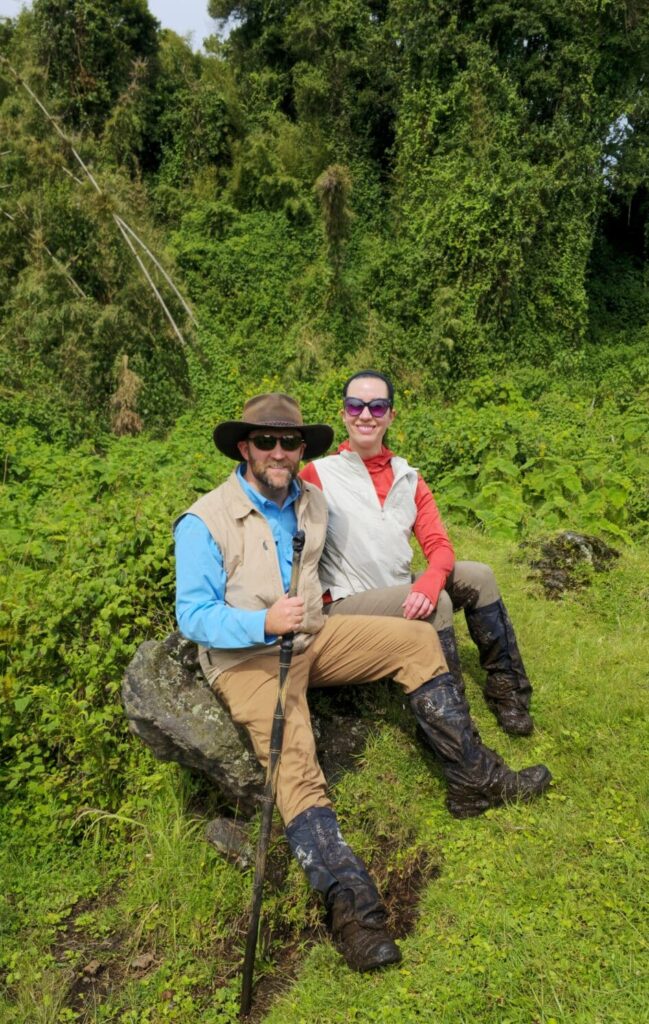
And part of that just comes down to weather and tracking conditions, too. Even if you book an easier trek, where the gorilla family is that day can completely change how the hike plays out.
So if you’re trying to decide, it really comes down more to how much you enjoy hiking. The actual gorilla viewing experience is not better or worse depending on the difficulty you choose.
And if you really want to work for it, and you’re a serious hiker, you might enjoy one of the harder options. Some people feel like that makes it even more rewarding—and I totally get that.
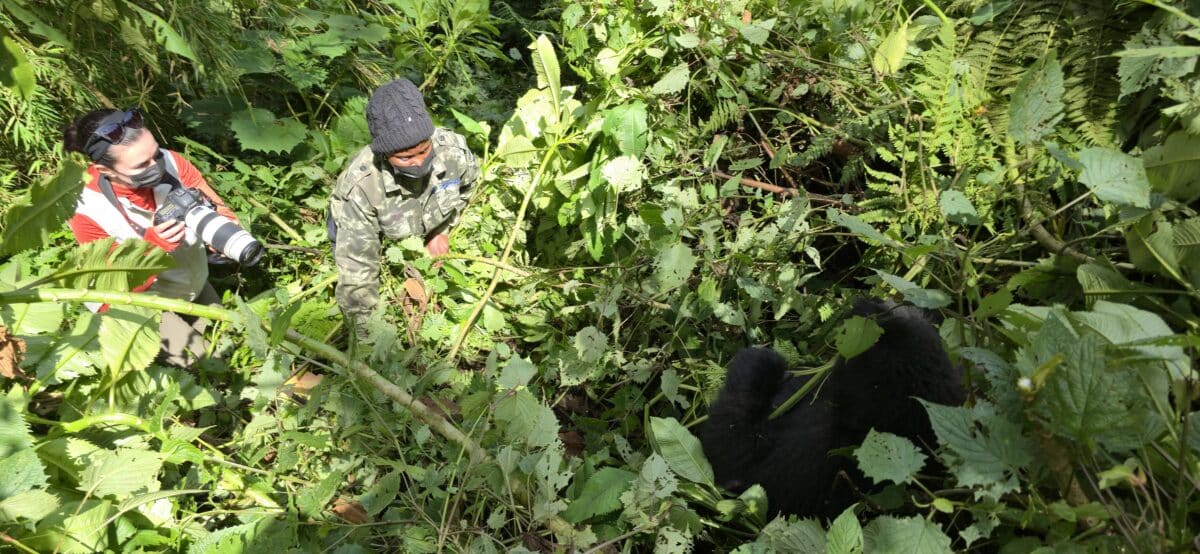
Just know this is not your typical hike. You’re dealing with mud, dense vegetation, uneven ground, and also altitude. You’re at a pretty high elevation here, so that can make the hike feel harder than it normally would for some folks.
How the Gorilla Encounter Works
One thing I got asked about a lot was whether you can touch the gorillas. And no, you cannot.
You have to keep a distance of at least seven meters, or about 22 feet, and you’ll also be wearing a face mask once you’re near them.
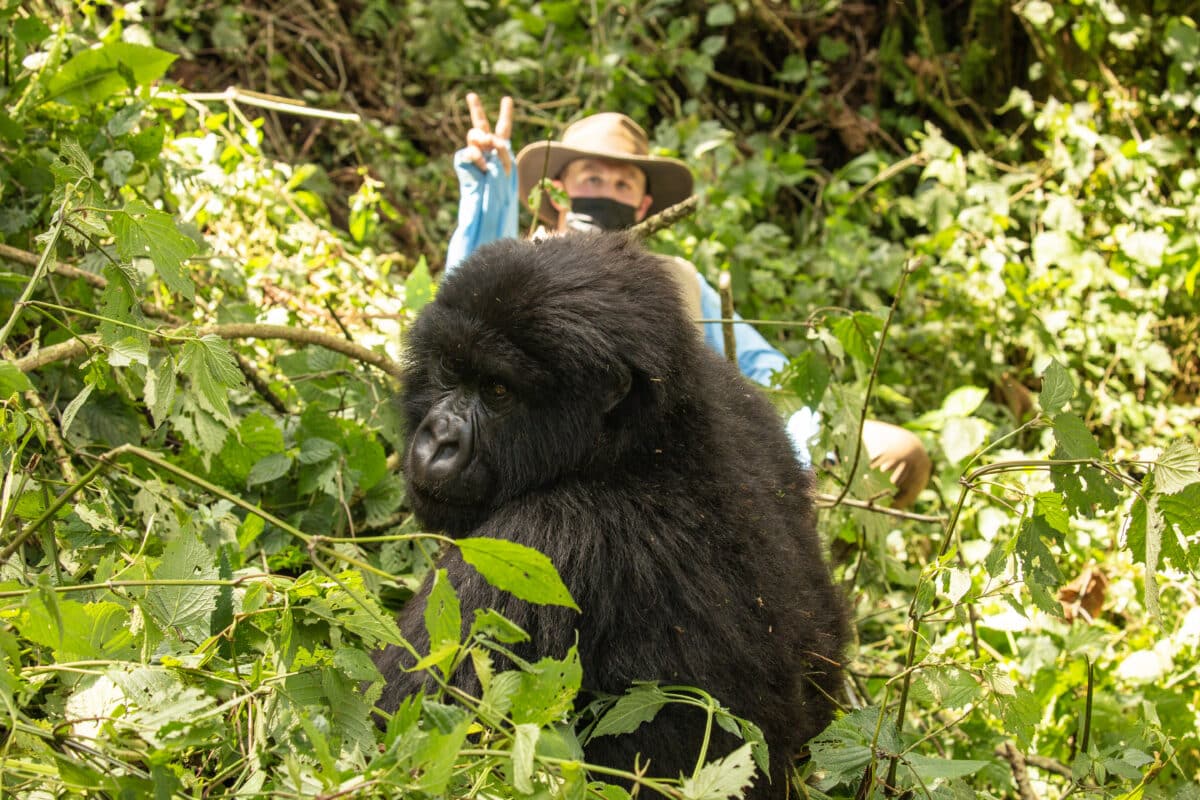
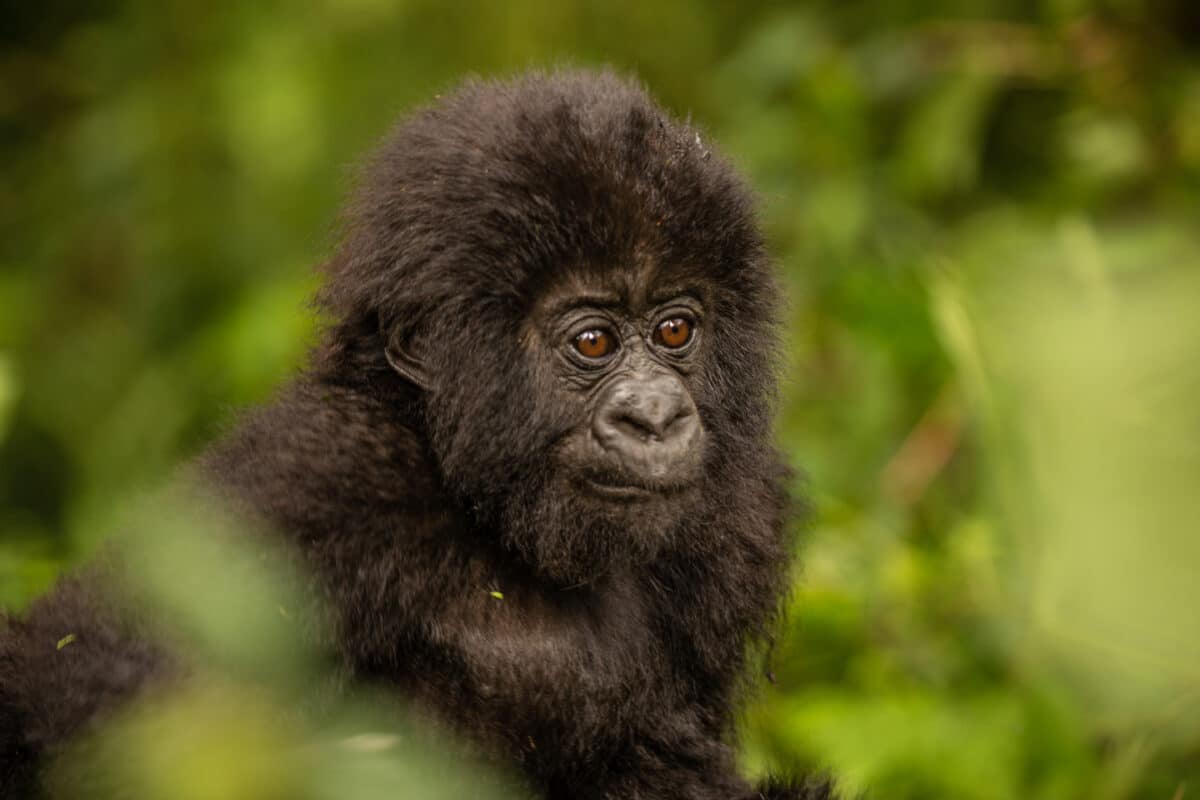
Even though you’re meant to keep your distance, sometimes the gorillas do come to you. I actually had a mother, and her babies walk right past me. And in that moment, you just listen to your guide…and mine told me to stay still.
And once you find the gorillas, you’re only allowed to spend one hour with them, to minimize stress on the animals.
And that hour goes by so fast. It really feels like five minutes.
So as tempting as it is to spend the whole time filming, I would definitely recommend putting the camera down for a bit and just watching them. It’s a pretty incredible thing to see in person.
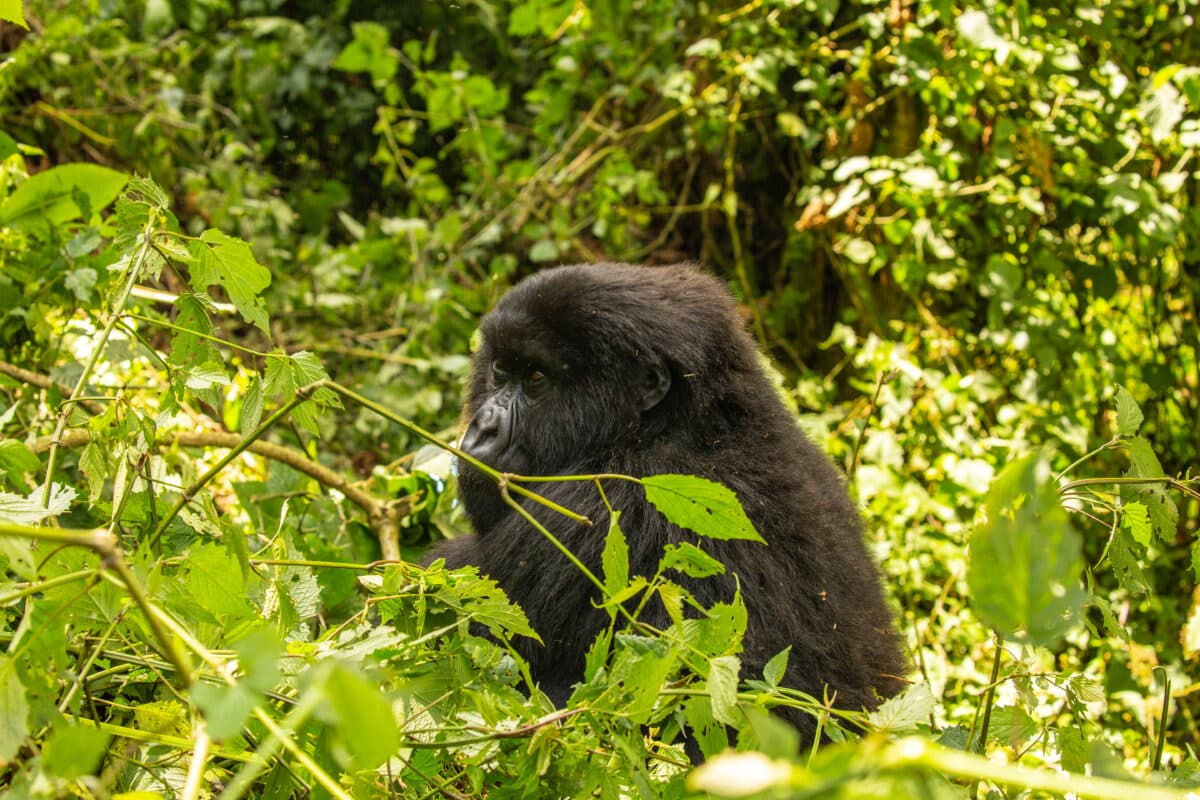
Before you go, they’ll also teach you how to behave around the gorillas…speaking in low tones, avoiding direct eye contact, and obviously never trying to touch them.
You also can’t use flash photography. And if you brought snacks or extra gear, you’ll leave your backpack with the porters once you get close to the gorillas before going in.
Another thing I did not expect is that they’ll actually teach you how to sort of “speak gorilla.” There’s this throat-clearing sound you make to let them know you’re not a threat.
I am TERRIBLE at it and probably should have practiced before I left. My husband, on the other hand, was weirdly good at it. (You can hear it in my YouTube video.)
***There’s also a minimum age requirement of 15, so this isn’t something for younger kids.
Is It Safe?
Safety-wise, I felt very safe the entire time.
You’re with trained guides and trackers, and they are constantly monitoring the gorillas’ behavior. They’ll give you very clear instructions, and as long as you follow them, the experience feels very controlled and respectful. The gorillas were super relaxed around us, and the silverback napped pretty much the entire time we were hanging out… that’s how chill he was!
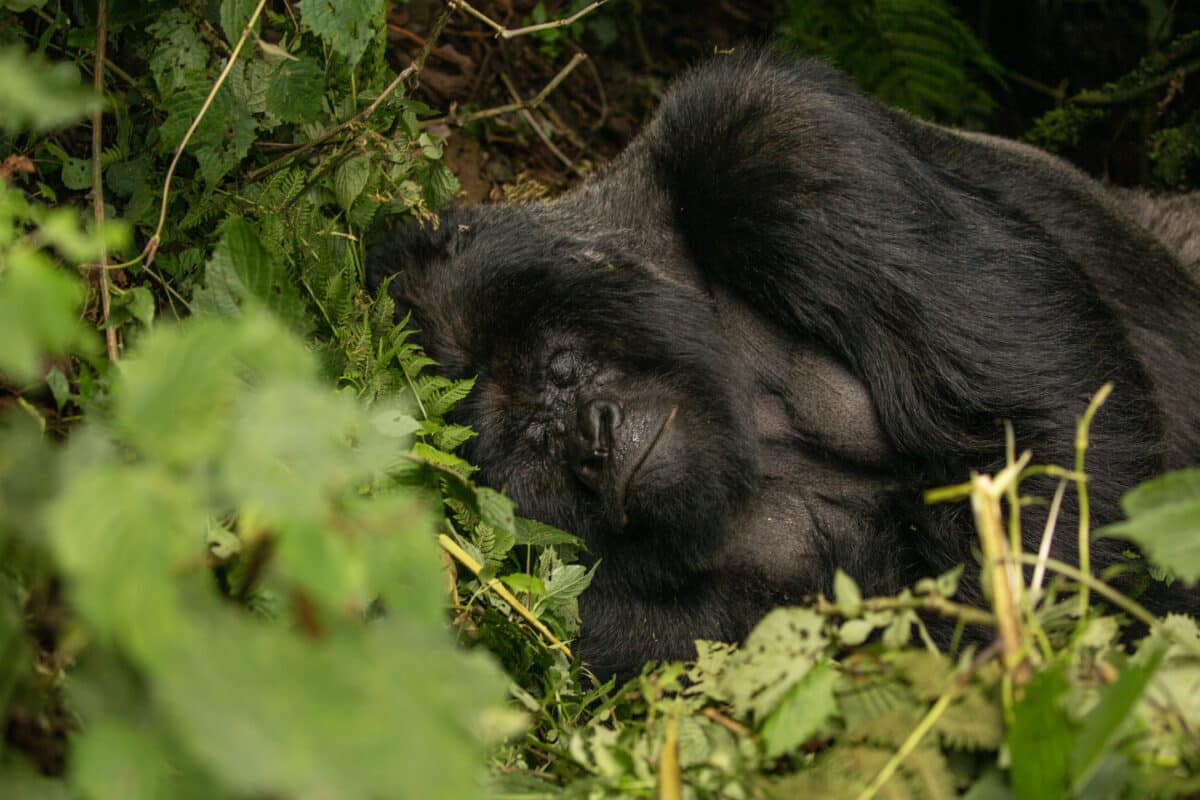
One thing to know before you go—you won’t be allowed to trek if you’re even slightly sick, like with a cold, because gorillas are very vulnerable to human illnesses. So be sure to do everything in your power to keep yourself from getting a cold before you go!
What to Wear (quick mention)
Very quick note on what to wear, because this can make or break your day: you’ll want long pants, good hiking boots, and gloves, and something you don’t mind getting muddy.
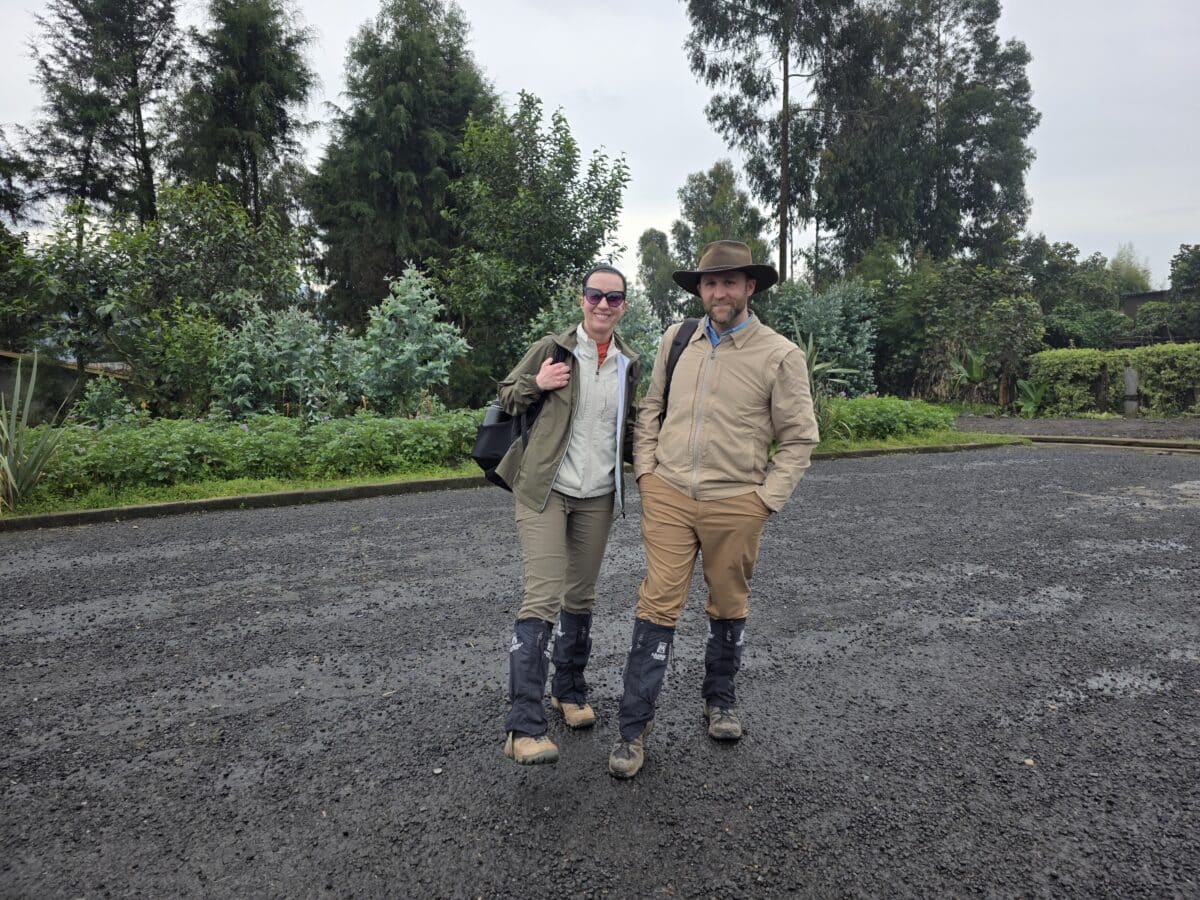
Long socks or something to cover your ankles are also a really good idea for bugs and the vegetation. I also recommend wearing gaiters.
And if you normally hike with trekking poles, bring them! The park also provides a nice walking stick, though, if you don’t have your own.
I’ll link a full packing list written with what I would bring and what I’d do differently.
Be sure to build some stamina
One last thing I’ll mention is just how to prepare for this, because I do think it makes a difference. You definitely do not need to train like you’re climbing a mountain, but walking regularly beforehand is important—especially if your trek ends up being anything like mine. Having some stamina is just going to make for a much better day.
And I go into a lot more detail on what I would do differently in my article on everything I got wrong, because I definitely learned some of this the hard way.
Is It Worth It?
I think it really depends on what kind of traveler you are.
If seeing wildlife up close in a really raw, natural setting is something you’ve always wanted to do, it doesn’t get any better than this.
But it’s also expensive, physically demanding, and a bit unpredictable. So you do need to go into it prepared and with realistic expectations.
For me, even with everything I got wrong the first time… this is still by far one of my favorite and most memorable travel experiences to date, and I hope I get to return one day. There is nothing like seeing a baby gorilla in the wild!
And if you’re already planning a few days in this area, this also pairs really well with golden monkey trekking the next day, which is a completely different and much easier experience, but really fun.
Read next: My Gorilla Trekking Packing List: What to Wear and What I’d Never Skip

This would be an awesome vacation
Such a solid guide. The tip about bringing at least $50 in cash specifically for the porters and guides outside of Kigali is incredibly helpful. It’s exactly the kind of small detail that’s easy to forget when you’re focusing on the $1,500 permit fee!
What an amazing opportunity!!
I’d love to do this one day!
I really enjoyed reading this Rwanda gorilla trekking guide because seeing mountain gorillas in their natural habitat sounds like such an unforgettable adventure.
They’re too scary
I would love to go.
thanks for such a thorough review!
useful info
Very nice detailed write up. Will help me when I plan my Gorilla-ing trip.
thanks for the advice!