I Almost Ruined My Gorilla Trek in Rwanda — What to Know Before You Go
I almost ruined my gorilla trek in Rwanda…I was sick from the water, grabbed so many thorny plants, completely underestimated the hike, and at one point, I literally smashed my camera trying to catch myself.
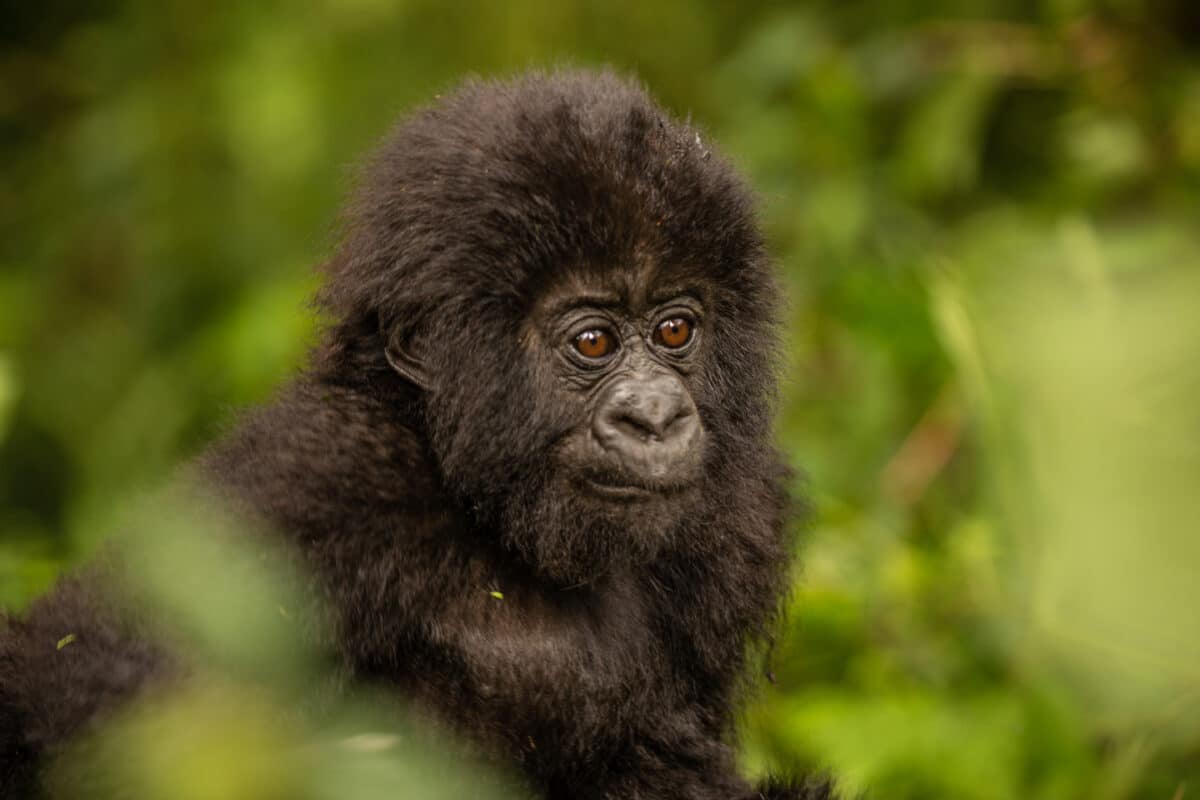
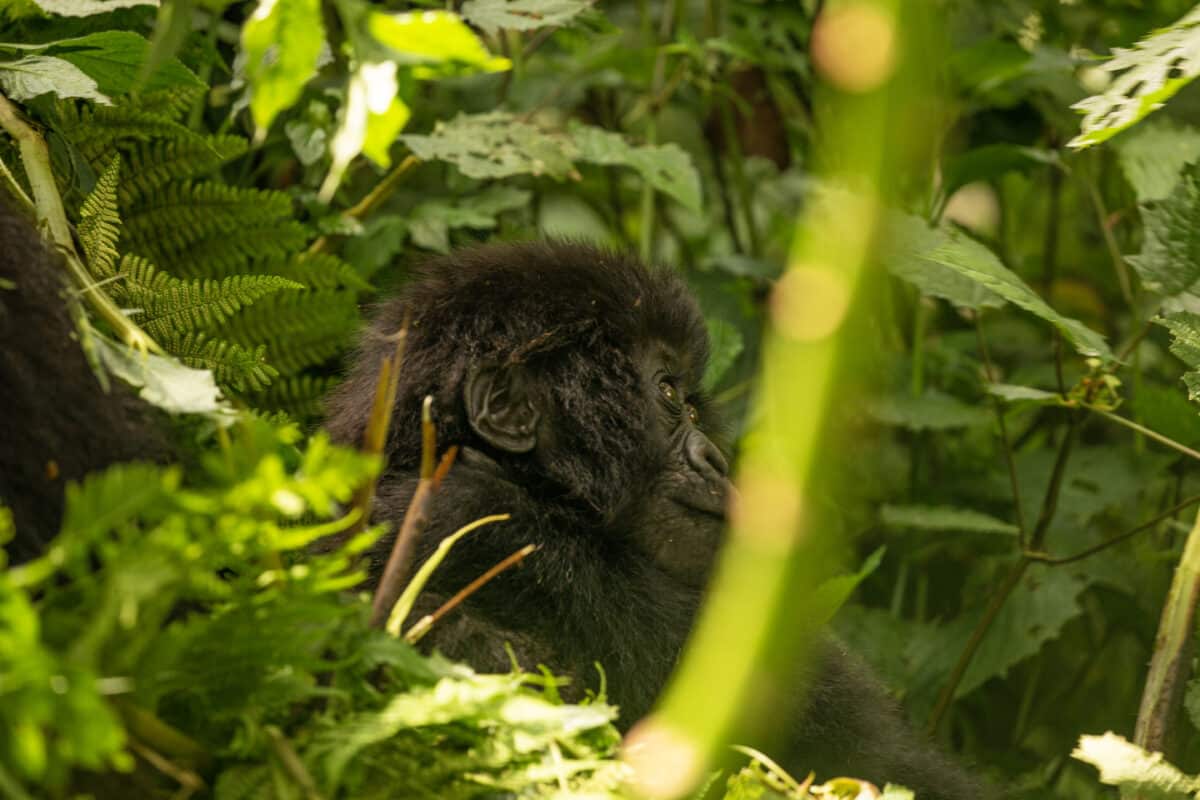
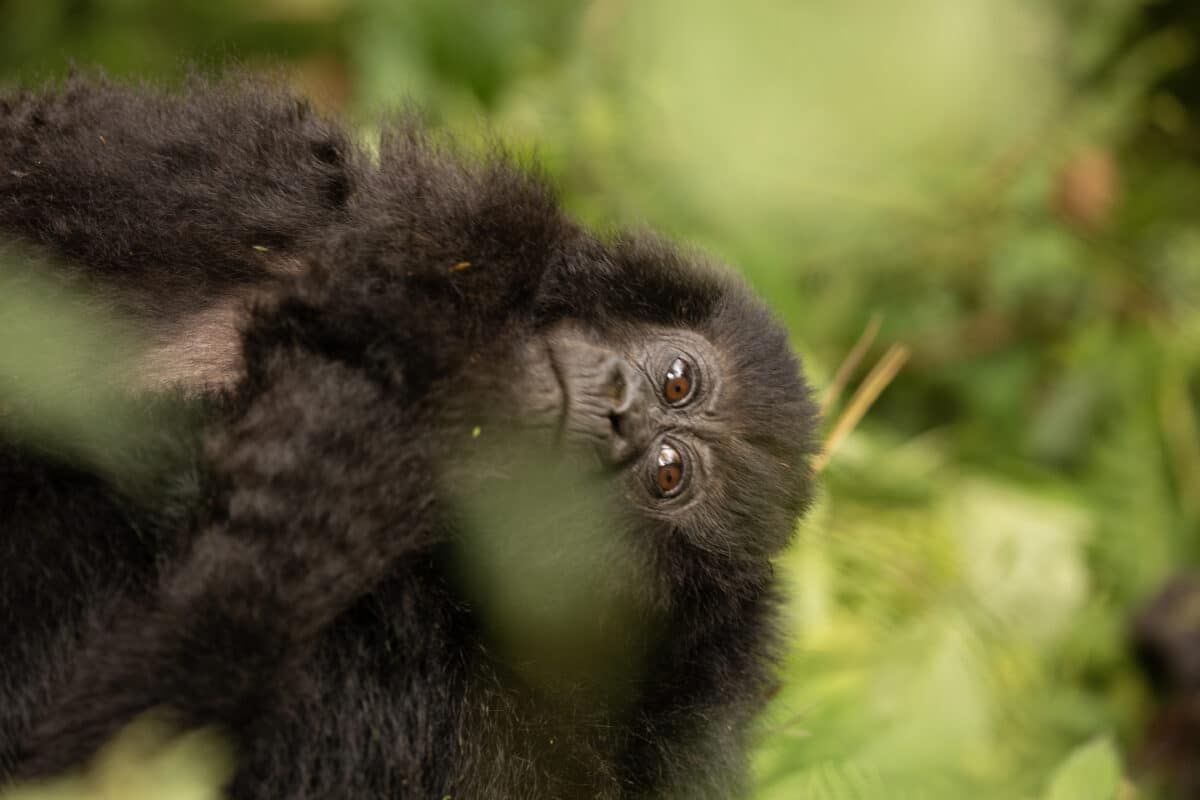
Then a baby gorilla walked right up to me, and it still became a top-five life moment.
If this is on your bucket list, read this first so you don’t repeat my mistakes!
This post is all about gorilla trekking in Rwanda. I’m going to show you exactly what not to do, what I actually did right, and how to have a way more enjoyable gorilla trek than I did.
Disclosure: This post contains affiliate links. Shopping through them supports this blog at no extra cost to you. Thank you!

I’ve been traveling internationally for over ten years now. I’ve done multi-day hikes, I’ve tracked black rhinos on foot, I’ve dragged myself up mountains and thought, “Yeah, I’ve got this. I know what I’m doing.”
So I went gorilla trekking in Rwanda, thinking I was prepared.
Spoiler: I was not.
This trek humbled me in ways I did not see coming. I made so many mistakes – some of them a little funny, some of them actually dangerous.
But it was still 1000% worth it. Seeing a baby gorilla in the wild? I’m getting teary just thinking about it. It’s the single coolest wildlife experience I’ve ever had and should be on everyone’s bucket list.
So in this post I’m going to walk you through:
- What gorilla trekking in Rwanda is really like,
- The things I did wrong, so you don’t repeat them,
- The few things I actually did right,
- And a simple checklist at the end.
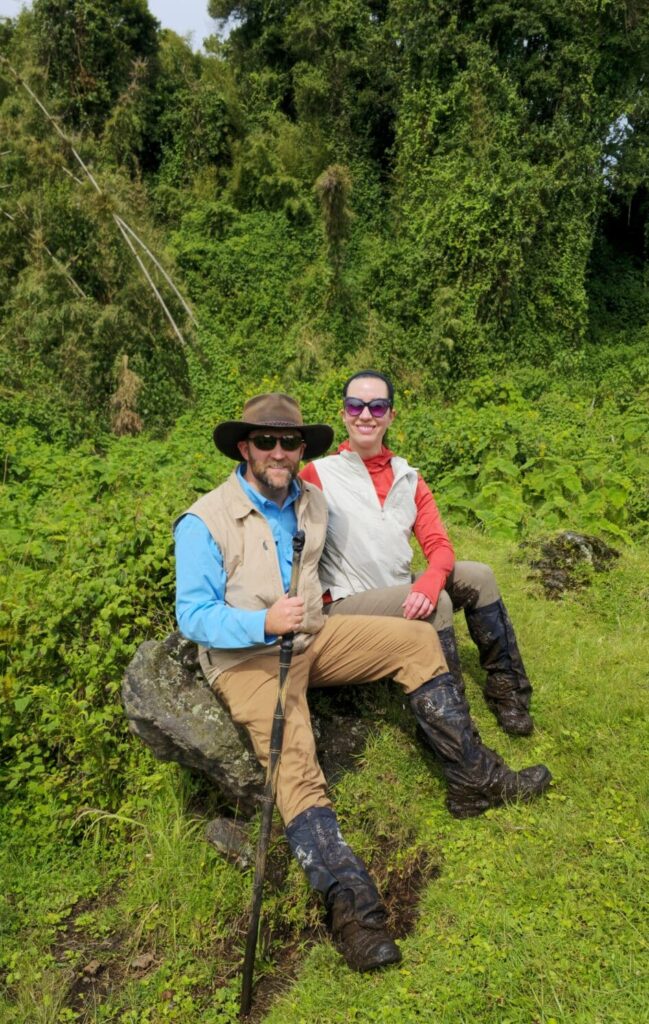
QUICK OVERVIEW: Where I Went Mountain Gorilla Trekking
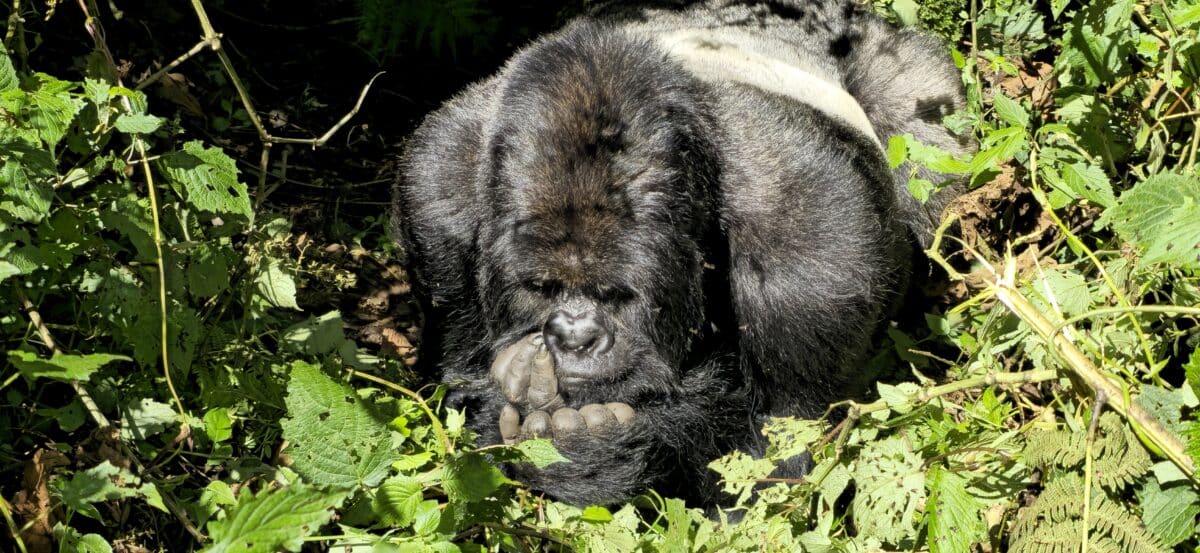
I did my trek in Volcanoes National Park in Rwanda, with the Agashya family of gorillas.
We stayed at Amakoro Songa Lodge, which I’ll talk more about later because they basically saved me from myself.
I booked what was labeled an “easy” trek because I wasn’t feeling 100%.
In my mind, this was going to be a nice little stroll into the forest, we’d see gorillas in like ten minutes, and I’d be back at the lodge in time for lunch.
Yeah. No.
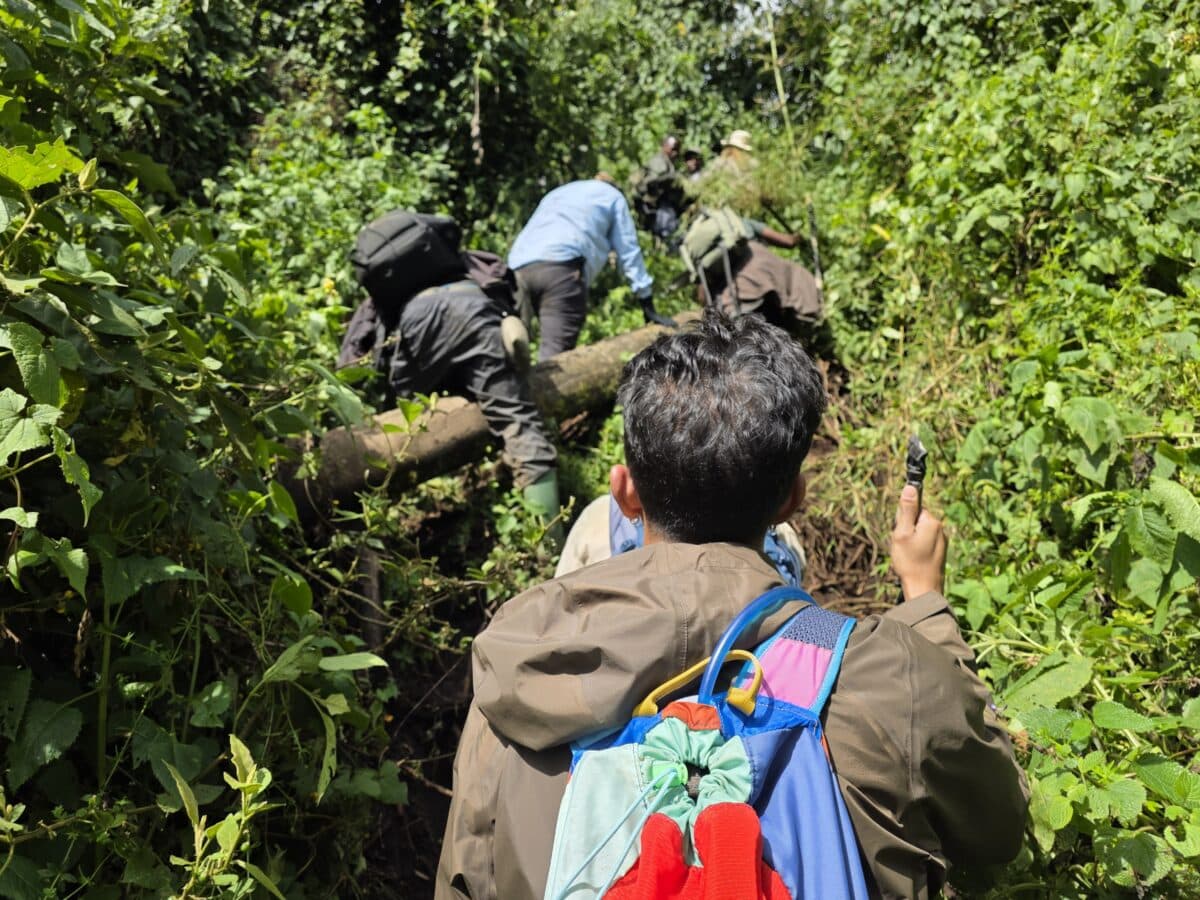
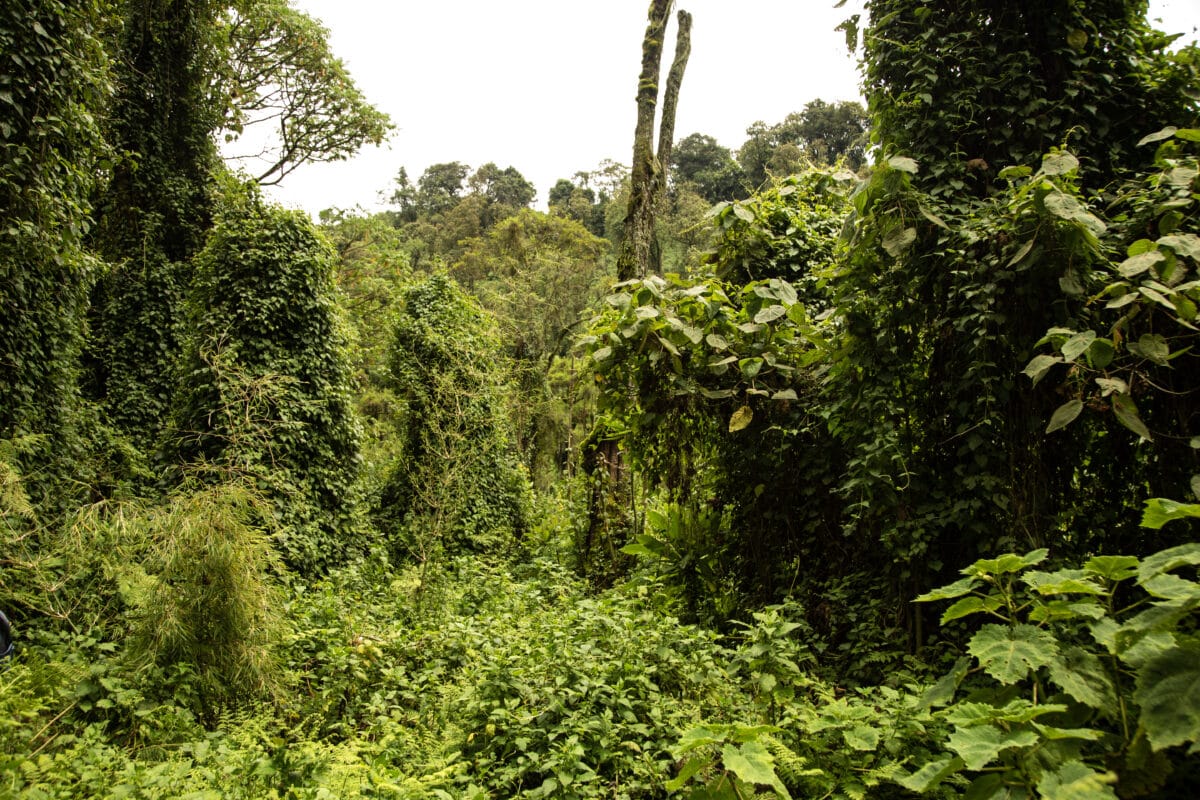
Our gorilla family decided to be on the move that day, and our “easy” trek turned into over seven hours of hiking through mud, stinging plants, steep hills, and some of the wildest terrain I’ve ever done a hike on.
WHAT I DID WRONG (LEARN FROM ME!)
1. Brushing My Teeth With the Lodge Water
Let’s start with my dumbest mistake: I brushed my teeth with the tap water. Multiple times.
I felt a little off the day before the trek, but I shrugged it off. By the time we were hiking, I was basically eating Pepto like candy and praying my stomach would behave.
Later, when I got home, my doctor confirmed I’d picked up a bacterial infection – likely from the water.
If I had just:
- Used bottled water to brush my teeth,
- Talked to my doctor before the trip about meds to bring “just in case,”
I could’ve avoided a LOT of misery. Once I had the proper medication, I felt better in under 24 hours. Imagine feeling normal for that trek instead of wondering if your stomach is going to betray you in the middle of the forest. How nice!
Lesson #1: Use bottled water for your teeth brushing, and talk to your doctor before you go about prescriptions for stomach issues.
2. Completely Underestimating the Hike
All the videos and photos I’d seen made gorilla trekking look like:
You walk ten minutes into the forest, turn a corner, and boom – gorilla family.
That… was not our day.
Our hike was over 7 hours round-trip. Some days, the gorillas are right near the park boundary. Some days, like ours, they’re way up in the hills and constantly moving.
I’m a pretty active person, and I still found this brutal – mainly because I was not feeling well.
If I hadn’t had some fitness under my belt, this could have been a disaster.
Lesson #2: Do not assume it’ll be easy. Prepare like you’re doing a solid full-day hike, even if you’re assigned an “easy” group. The easiest way to do this is to make sure you are walking consistently before your trek… whether outside, around a mall, on a treadmill, or stairmaster… anything to help build up a bit of stamina.
3. Ignoring the Advice About Gloves and Gaiters
Because I thought this would be mellow, I almost didn’t pack my hiking boots. I almost wore sneakers. Based on some of the content I’d seen, sneakers looked totally fine.
Thank goodness I did bring my waterproof boots with high ankles because the trail was entirely muddy. It had poured for around eight hours straight before our trek.
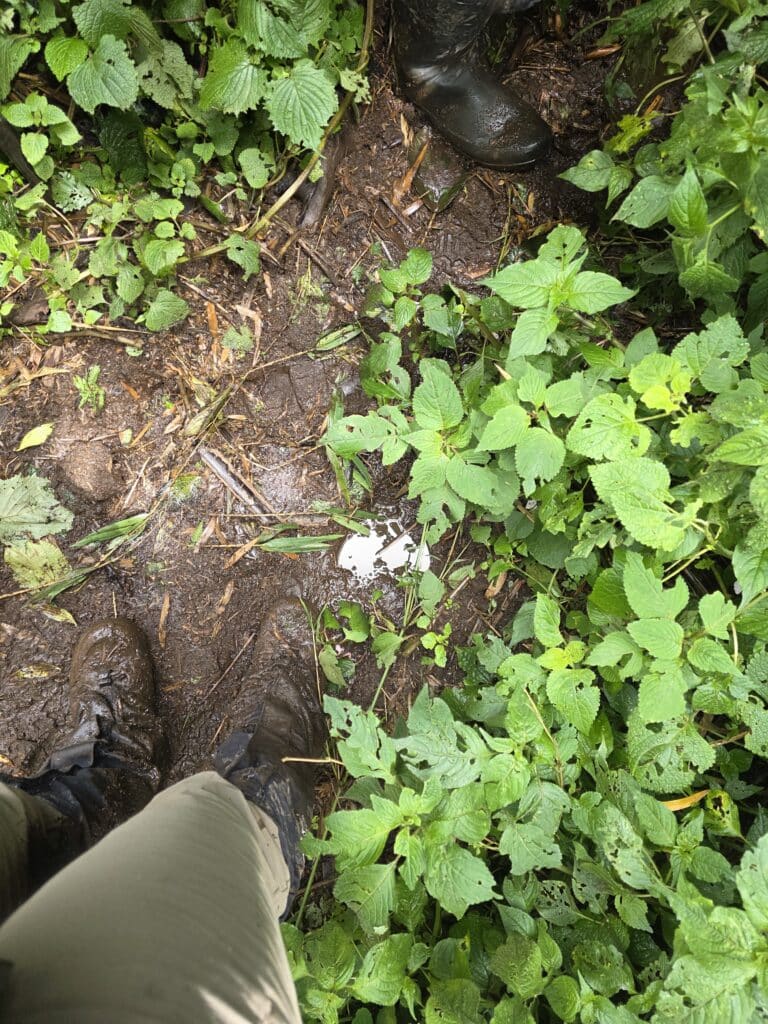
Where I went wrong was not taking gloves or gaiters seriously. I didn’t pack gloves. I didn’t bring my own gaiters. And with all that mud, I kept slipping and grabbing at whatever vegetation was nearby… including thorny, prickly bushes and burny plants.
I ended up:
- Scratching my hands all up,
- Smashing my camera while trying to catch myself (I really thought I’d broken my lens and was sick to my stomach about it),
- Losing my lens cap – which my incredible porter later found, because he is a superhero.
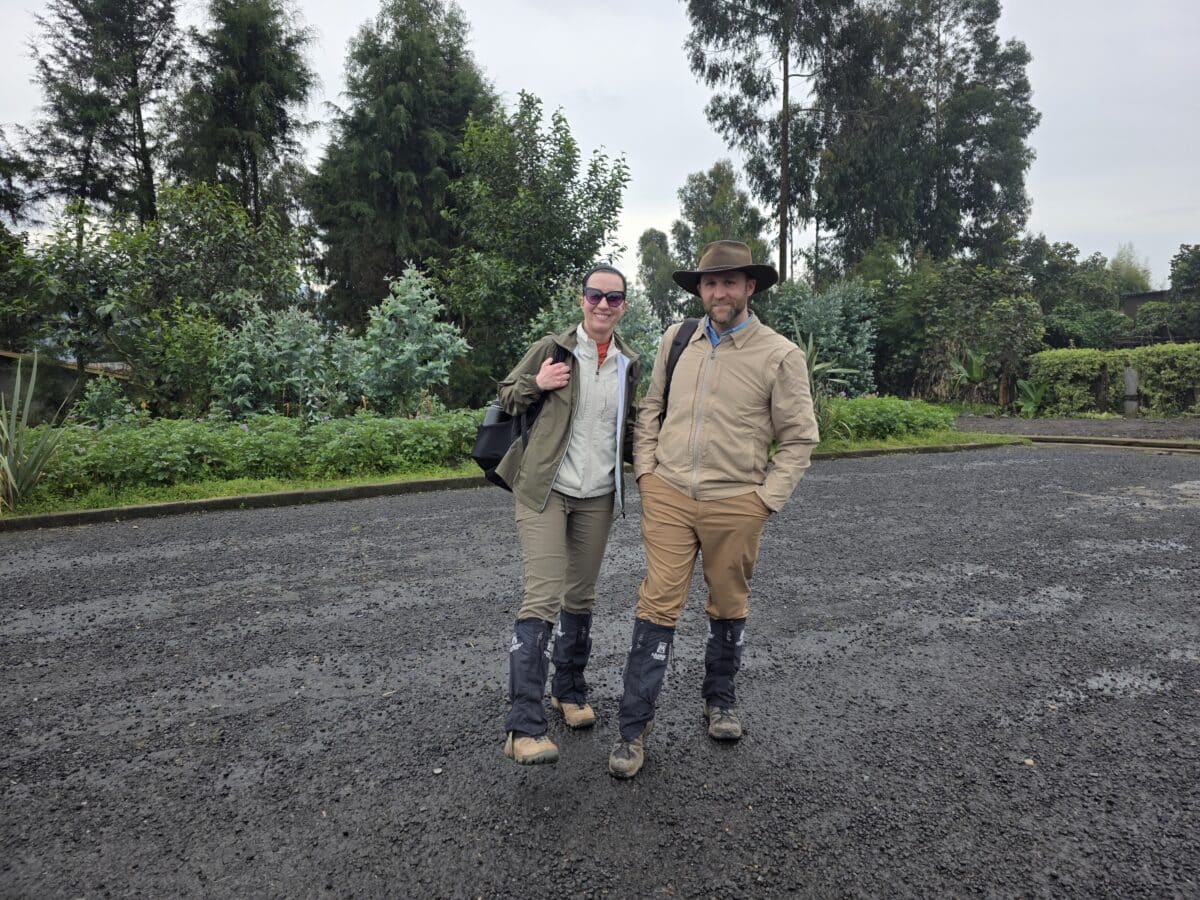
Thankfully, the team at Amakoro Songa Lodge let me borrow gaiters and helped me put them on because I had no clue what I was doing.
Lesson #3: Waterproof boots with good ankle support are an absolute must. Gaiters and gloves will save your hands, your pants, and maybe even your camera.
4. Overpacking the Wrong Camera Gear
I had this very romantic idea that I’d switch lenses and get all these different artistic shots.
The reality? You can’t bring your backpack in once you get close to the gorillas, mostly to avoid food/smell issues. So anything you bring has to be on you and easy to manage.
I lugged along:
- My 100–400mm telephoto, which was actually perfect for this,
- And my 24–105mm… which I never touched.
It was just extra weight I was trying to juggle with muddy terrain, thorny plants, and no gloves.
For me personally, I really only needed:
- My phone,
- And my 100–400mm on my DSLR.
Lesson #4: Pick one main lens and stick with it. I recommend a 400mm, plus your phone. Less fiddling, and more time actually watching gorillas.
5. Skipping My Hat and Neck Protection
That morning, my head was throbbing, and the idea of putting on my hat sounded awful.
So I skipped it.
Fast-forward a few hours and:
- I had a nice sunburn,
- My hands were filthy, so reapplying sunscreen wasn’t really happening, and I had forgotten wipes
- And I smacked my ear straight into some kind of burning nettle plant. Several times.
At one point, I watched our guide put on a winter hat and thought, “Why is she bundling up?”
Then my ear hit that plant again, and it all made sense.
Lesson #5: Bring a lightweight hat or beanie that covers your ears, and ideally a neck gaiter. They protect you from the sun and stingy vegetation.
6. Not Packing a Bathroom Plan
If your hike ends up being as long as ours, at some point… nature is going to call.
I wish I would’ve packed:
- A little bit of toilet paper,
- A bag to pack it out,
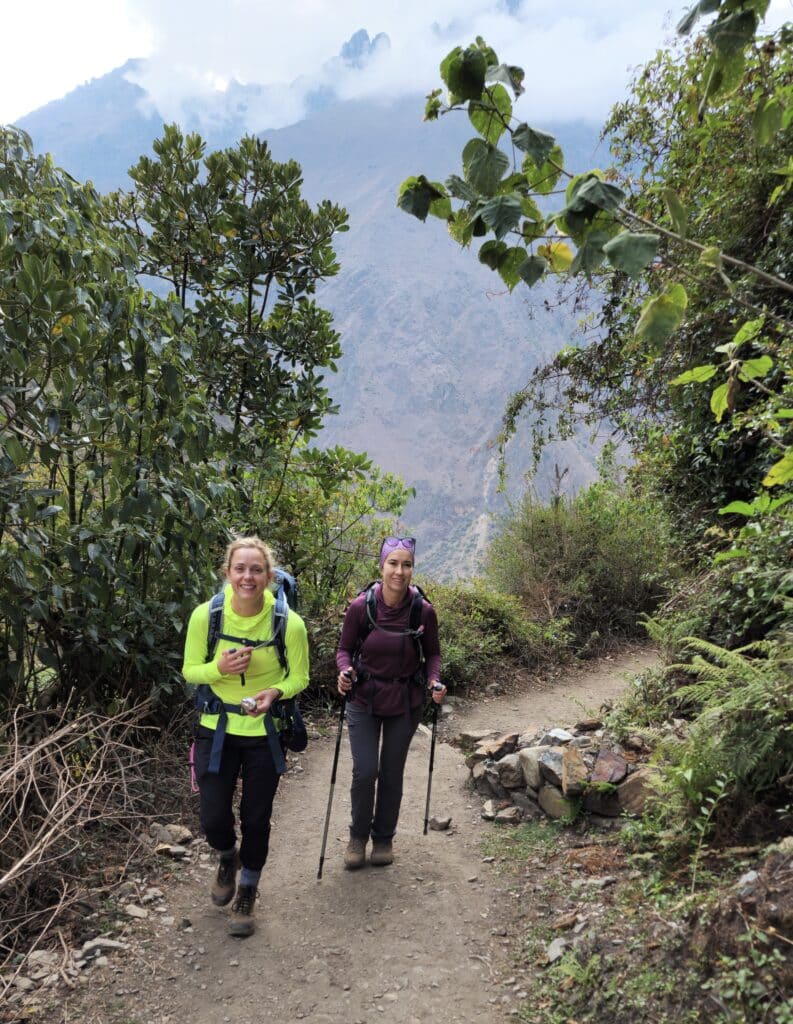
- And my female urination device that I used on the Inca Trail.
I own one of those, brought it to Peru, and somehow didn’t pack it for this trek. Absolutely kicking myself.
Lesson #6: Plan like you might have to use the great outdoors. Because you just might!
7. Not Bringing Enough Familiar Snacks
When your stomach is off, the last thing you want to do is experiment with new snacks.
I found an old granola bar hidden in my backpack – the same kind I normally eat at home – and I could’ve cried, I was so happy.
It was basically the only thing my stomach could tolerate on that hike. Meanwhile, another couple in our group had a stash of snacks from home, and I was very jealous.
Lesson #7: Bring a couple of simple, familiar (packaged) snacks from home that you know your body likes, especially if you have a sensitive stomach.
8. Leaving My Trekking Poles Behind
I own nice, lightweight trekking poles from the Inca Trail.
Did I bring them? Of course not. Because I “didn’t need them” for this “easy” hike.
The park does give you a wooden walking stick at the entrance, which is helpful, but it’s not the same as having two poles that you’re used to using.
With thick mud, steep sections, and slippery roots, my own poles would’ve made a huge difference.
Lesson #8: If you have trekking poles, bring them. Your knees and your balance will thank you.
9. Underpacking Water
Shocking no one at this point, I also underestimated how much water I’d drink over seven-plus hours of hiking.
I brought some, but not enough for 7 hours. Constantly stopping to dig around for a bottle also meant I wasn’t sipping as consistently as I normally would.
Lesson #9: Bring plenty of water. A hydration bladder (CamelBak-style) makes it so much easier to drink regularly without stopping all the time.
10. Wearing Clothes I Actually Like
Wearing bright colors isn’t the end of the world – the gorillas are used to people and didn’t seem to care that some of us weren’t in full neutral safari gear.
The problem was: I wore one of my favorite orange hiking shirts.
And this hike absolutely destroyed it. I got so dirty, and getting the stains out of the sleeves has been a full-time project.
Lesson #10: Wear clothes you won’t cry over if they get permanently stained, or choose pieces that don’t show mud as badly.
You can see my full gorilla trekking packing list here.
WHAT I ACTUALLY DID RIGHT
Now for the few things I surprisingly nailed.
1. Hiring a Porter
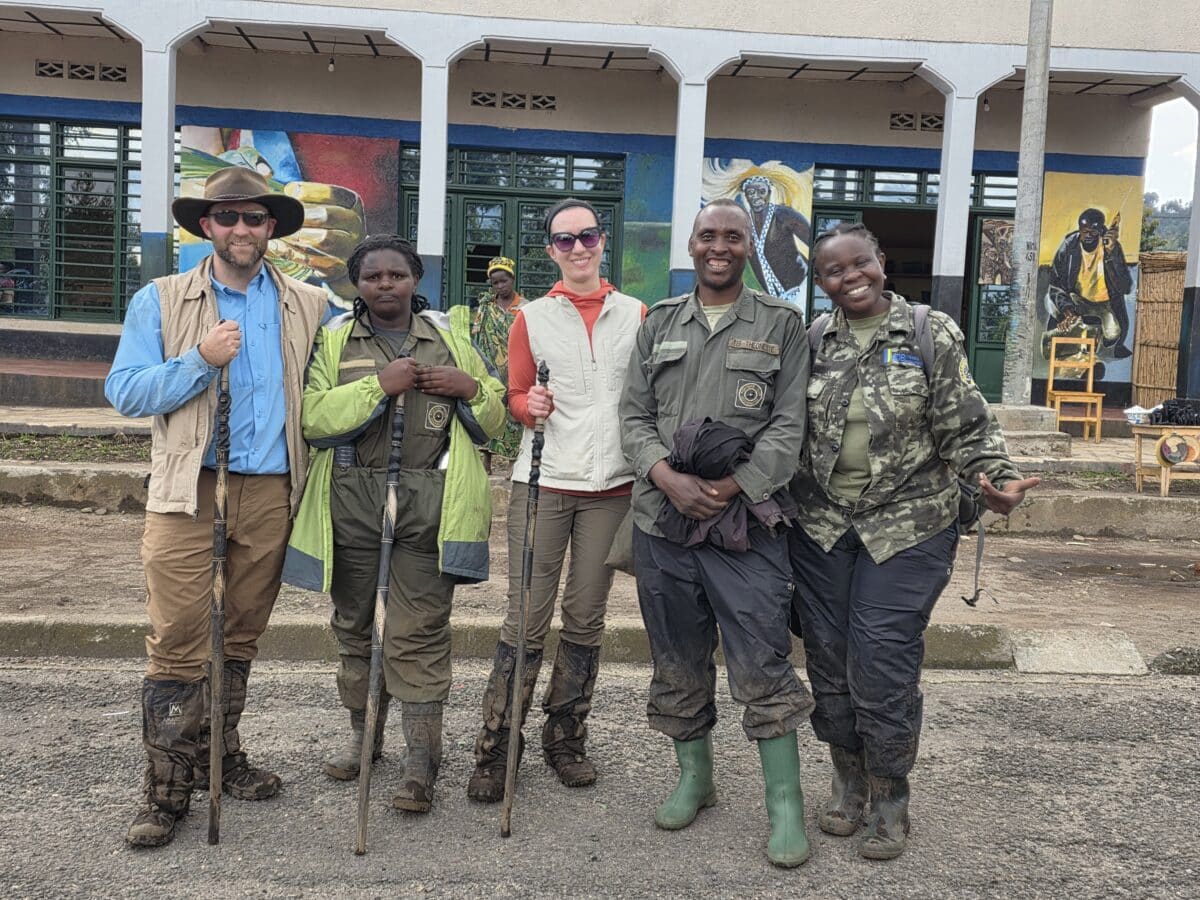
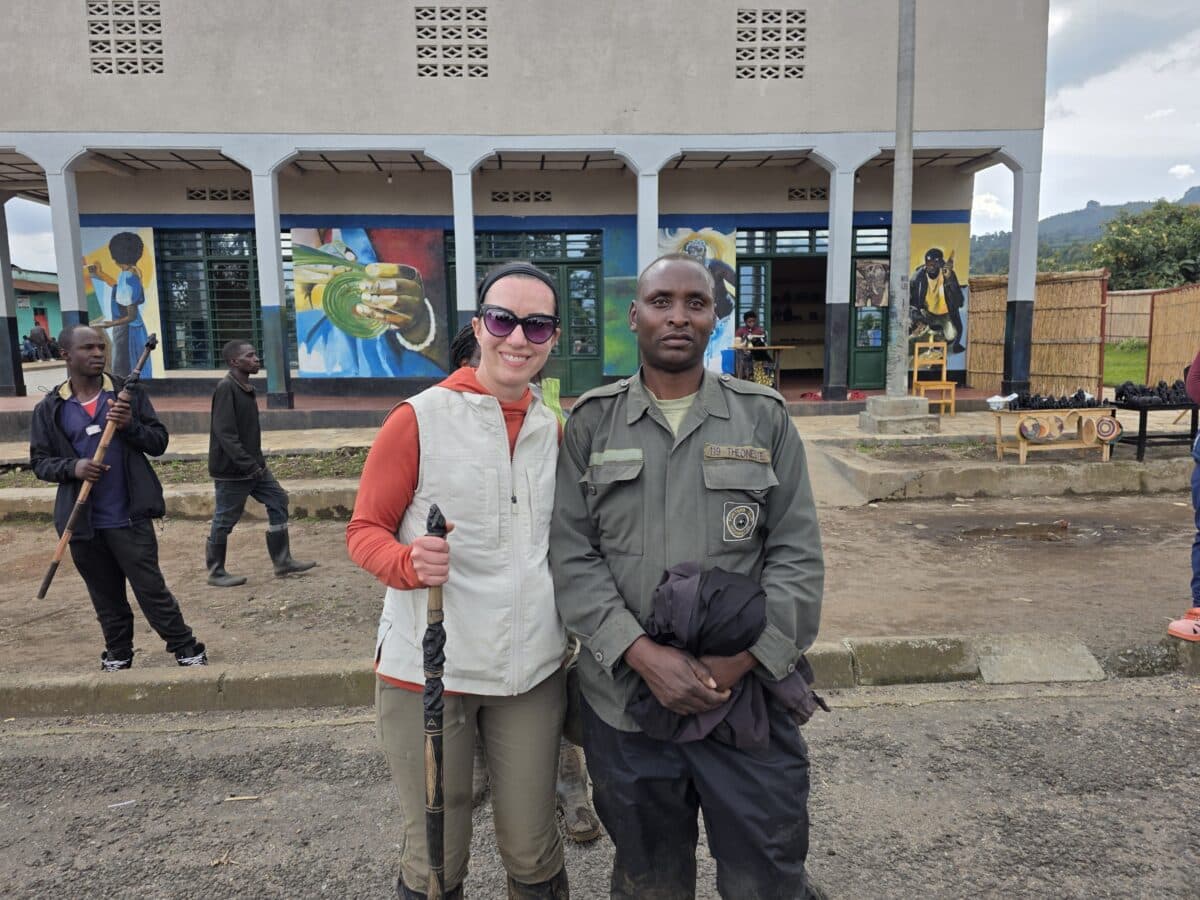
This is probably the best decision I made: I hired a porter, and I cannot recommend this enough.
My porter, Theo, was incredible. He:
- Carried my backpack,
- Helped our guide with hers,
- Kept me from falling over a dozen times,
- Was hacking through vegetation with a machete,
- And was still helping people in our group who hadn’t hired porters.
Porters know the terrain, they know the best routes, and they are there with a hand ready any time you need it. On top of that, this is a really important way to support the local community and conservation. Some porters were formerly involved in poaching, and now they make a good living helping protect these animals instead.
When I went, porters were $20 USD per person in Rwanda, plus a tip. Guides are paid and tipped separately – around $30 USD.
I’d bring at least $50 in cash just for porters and guides, and double-check current amounts with your tour company.
2. Wearing Broken-In Waterproof Boots and Long Socks
I did at least wear proper boots that were already broken in, with long socks.
In that much mud and water, sneakers would’ve been a nightmare, and blisters would’ve ruined my day.
So if you take nothing else from me: waterproof boots with ankle support, broken in at home first.
3. Long Clothing + Bug Spray + My Vest
I wore long pants and long sleeves, and used bug spray. Between the insects and all the sharp, stingy plants, you really do not want bare skin.
I also wore my SCOTTeVEST with a ridiculous number of pockets. (I also used it when I was in Kenya and loved it!) That was actually genius, because once you’re closer to the gorillas, you don’t have your backpack with you.
I kept:
- A water bottle in one pocket,
- My phone zipped safely in another,
- Chapstick and little essentials (like Pepto) tucked everywhere.
Women’s hiking pants pockets are a joke, so having a vest with actual usable pockets was a game-changer for me.
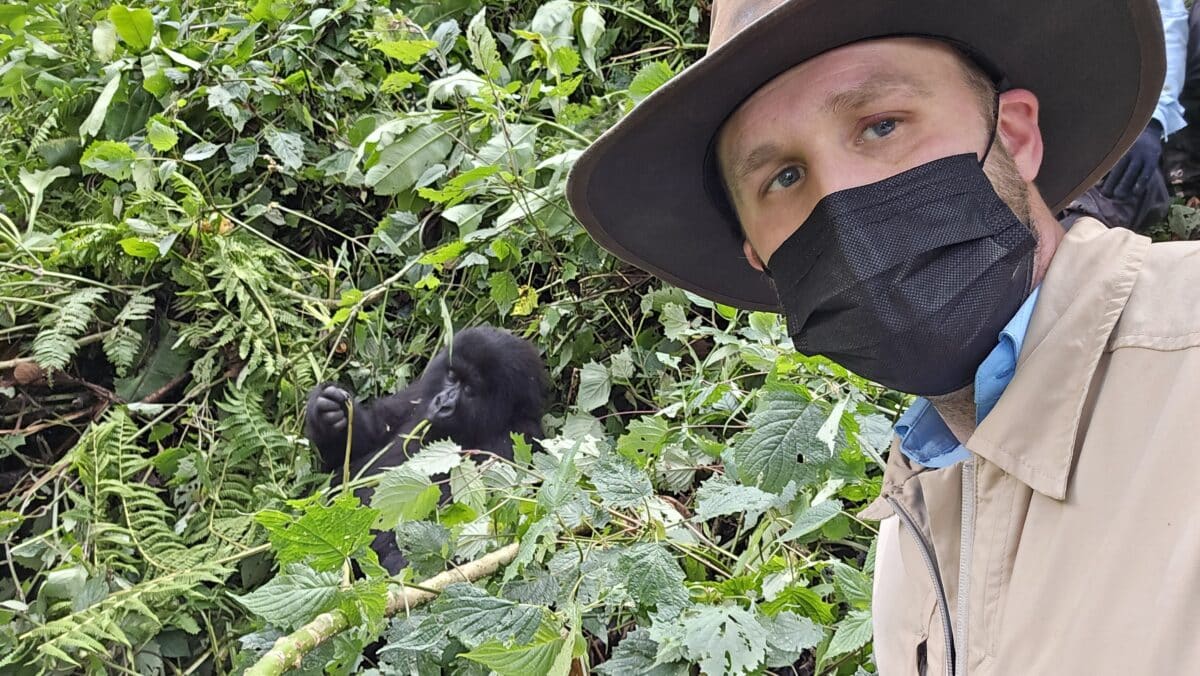
4. Bringing Face Masks
You have to wear a face mask near the gorillas, whether you feel sick or not. We can pass diseases to them and vice versa.
We brought our own masks and even shared extras with the group. It’s a small thing that makes a big difference in keeping these animals safe.
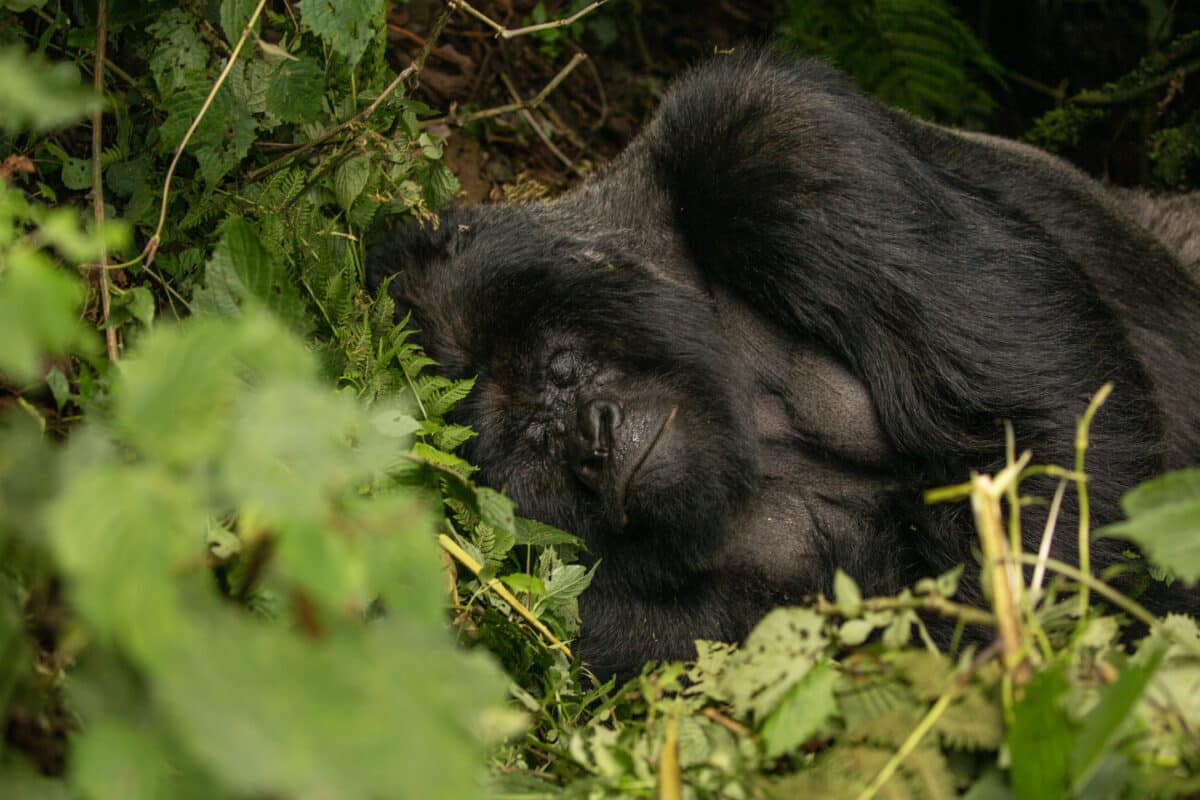
5. Bringing My DSLR
Phones are great, and you can absolutely get good footage on a phone. But I’m really glad I brought my DSLR with that telephoto lens.
The photos I got are some of my favorite travel photos of all time. I fully plan to print and frame them at home.
Just… maybe don’t smash your camera into a thorn bush like I did.
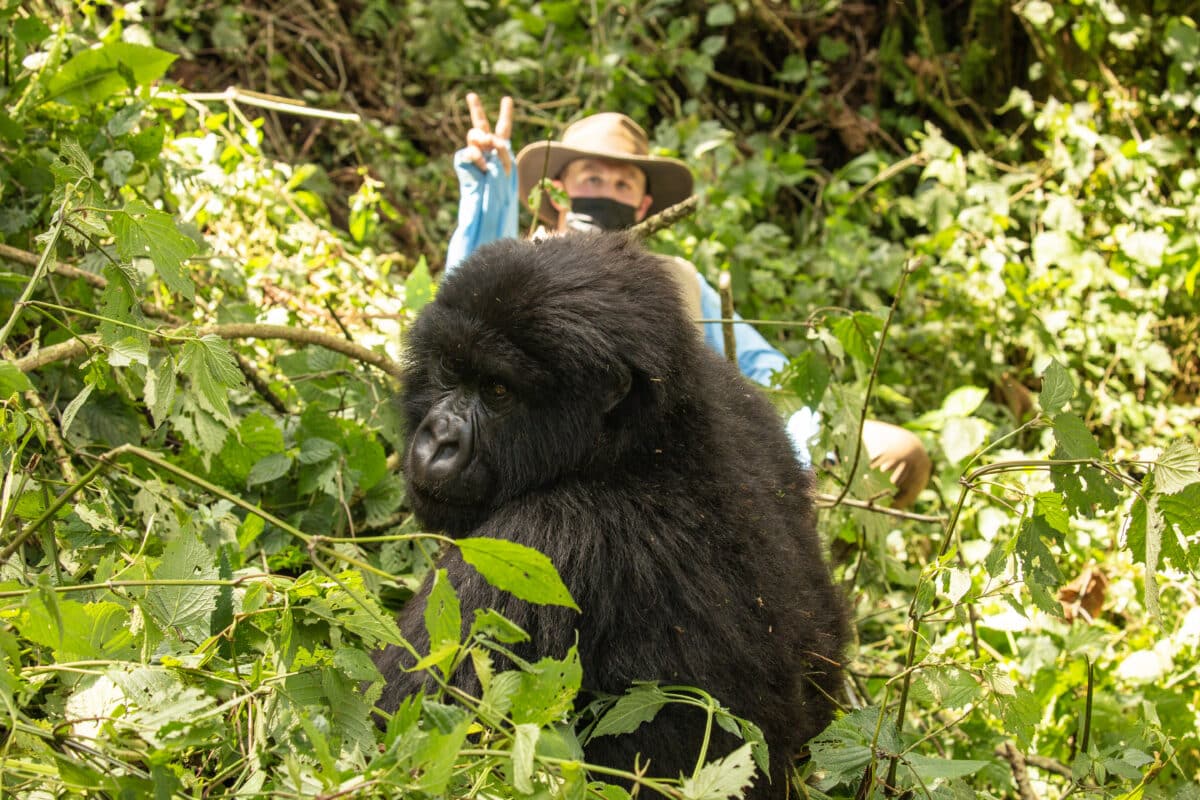
6. Actually Putting the Camera Down
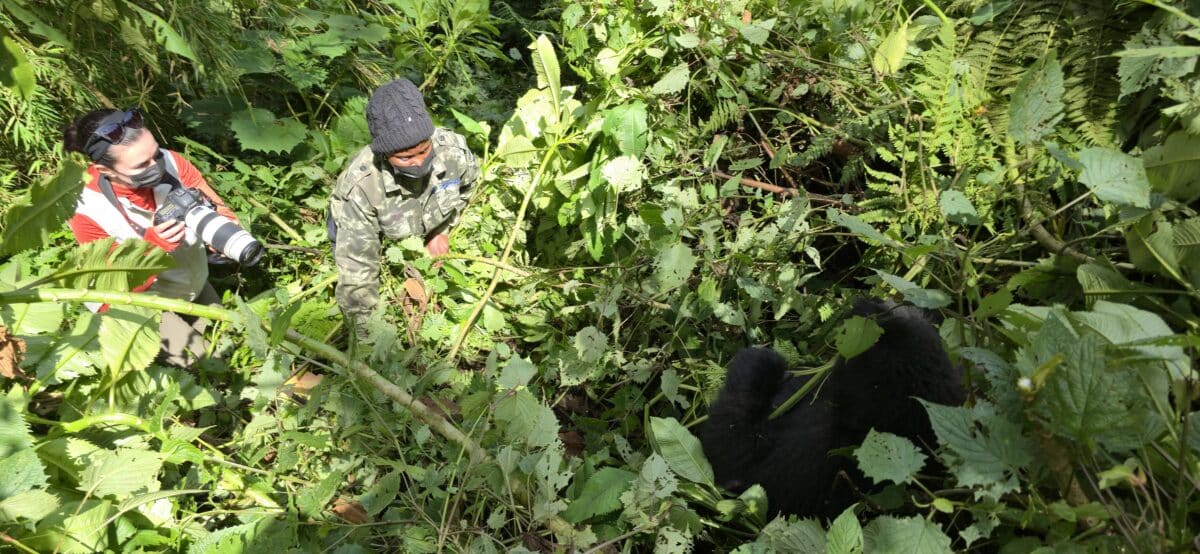
The hour you get with the gorillas goes by ridiculously fast.
I made a point to put the camera down and just watch. At one point, a mother and her babies came right up to where I was sitting, and I just sat there and took it in. It was so cool! (This is much easier to see in my YouTube video!)
You don’t want to spend the entire hour obsessing over the perfect shot. Get some photos and video, absolutely, but also let yourself just be there.
7. Staying at a Great Lodge (Amakoro Songa)
Staying somewhere like Amakoro Songa Lodge made this whole experience even better – and honestly, a lot more survivable.
They:
- Packed us a little lunch,
- Gave us fancy reusable water bottles,
- Helped me with my borrowed gaiters,
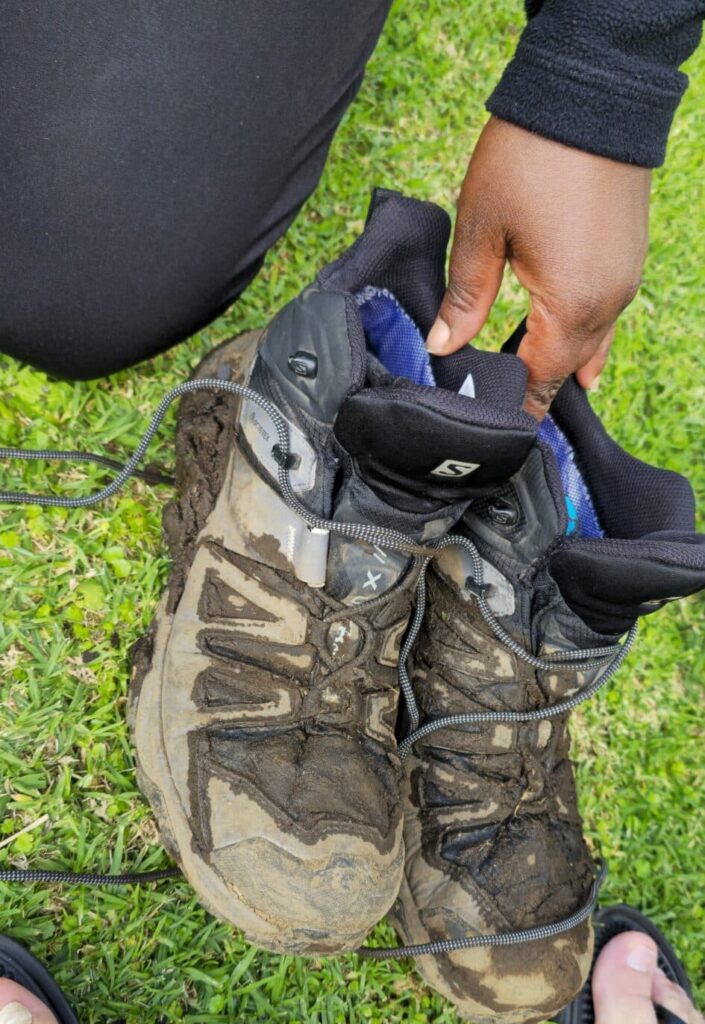
- And when we got back, they greeted us with an incredible footbath and a delicious fruit drink.
They also washed our boots and our muddy clothes. My boots looked better after they were done with them than when I bought them four years ago. I was stunned.
I’ll do a separate video or blog post just about the lodge, but if you can swing a good lodge, it really adds to the experience.
Quick side note on logistics because I know people will ask: gorilla trekking in Rwanda is a big investment. Permits are expensive and limited, and you need to book well in advance. Currently, they are $1500 per person. I booked through Go2Africa, and they handled the permits, the lodge, and the transfers, which honestly made my life a lot easier.
QUICK RECAP / CHECKLIST
- Use bottled water for teeth brushing, and talk to your doctor before you go about stomach meds.
- Expect a real hike – it might be 10 minutes, it might be 7+ hours. Train accordingly.
- Wear broken-in waterproof boots with good ankle support + long socks.
- Bring gaiters, gloves, and a hat/beanie, and ideally a neck gaiter.
- Pack toilet paper + bag to put it in, and any bathroom gadgets you like to use on hikes.
- Bring familiar snacks from home your stomach already knows, like granola bars.
- Consider a hydration bladder or plenty of water bottles.
- Bring trekking poles if you have them.
- Wear long pants and sleeves you don’t mind getting stained.
- Have usable pockets – a vest or jacket with zip pockets helps a ton.
- Bring face masks for the gorilla viewing.
- Hire a porter (or two) and tip your guide – plan at least $50 in cash, and confirm current amounts as these will likely change.
- Most importantly: put the camera down for a bit and just enjoy the gorillas. That hour disappears fast.
If you want this sent to you in a printable checklist format, enter your email below.
Even with the stomach issues, the mud, the thorns, the sunburn, and all my questionable life choices…gorilla trekking in Rwanda is still one of the best things I’ve ever done.
If it’s on your bucket list, keep it there. Just go in more prepared than I did, and you’ll have an incredible time.
Read next: My Gorilla Trekking Packing List: What to Wear and What I’d Never Skip
Definitely know doing some research for these type of trips is so important. Your site offers so much important, helpful information it’s on my travel expert list.
This looks so cool
Looksan amazing adventure despite your troubles
Looks like it was such an awesome adventure – thanks for sharing!
I wish I knew about this 20 years ago
What a super article – full of excellent advice and the pros/cons every gorilla trekker should know but might not think to ask.
Something to never forget
Love adventures
thanks for the wonderful tips!
This sounds like such an adventure and a cool thing to do. Adding to my bucket list